Have you got orders in Shopify that you want to push into Stream ready for logistics and delivery planning?
The good news is that this is possible using Zapier, a third-party integration tool that allows a vast range of systems to have a conversation with each other, using what it calls ‘Zaps’.
In this step-by-step guide, we’ll show you how you can automatically push your Shopify orders into Stream, ready to plan your deliveries, using our Zapier integration.
We have used Shopify as an example, but Zapier allows a number of other apps to be integrated with Stream (for more information on which apps can be integrated with please see zapier.com/apps).

Zapier Pricing
Zapier’s pricing structure is based on a combination of features and tasks.
The level of plan you will require is based on the features that you require from Zapier. Once you have identified the correct plan for your business, you can use the drop down options to select how many ‘tasks’ you will need Zapier to perform each month.
In the case of Shopify, a ‘task’ would be defined as a single order being pushed into Stream.
Full details of Zapier’s plans can be found at zapier.com/pricing
Setting up your integration:
Step 1: Sign up to Zapier:
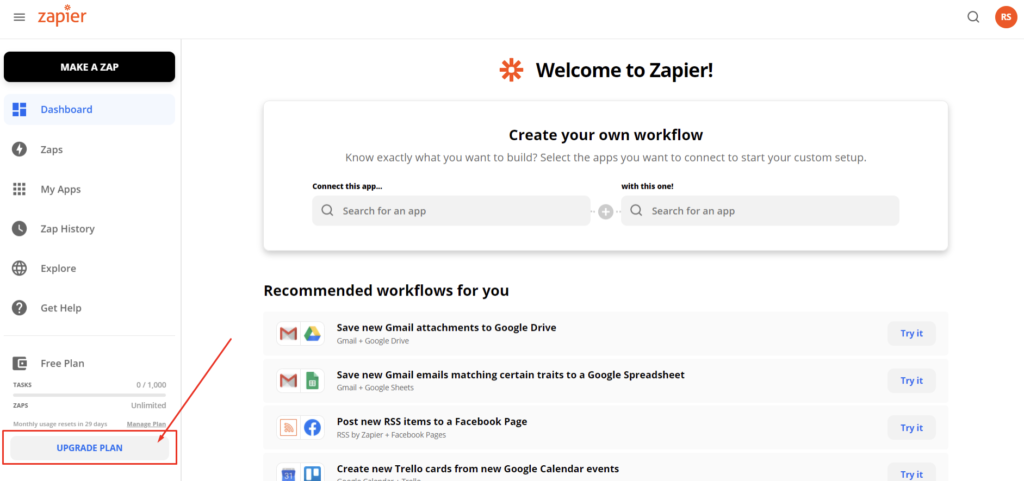
The first step is to create your account with Zapier.
Head over to zapier.com to sign up.
Once you’ve created your account, from the home screen select Upgrade Plan
Step 2: Create the Shopify ‘Trigger’
Within Zapier, press the button that says ‘Make a Zap’.
This will bring you to a screen to select the ‘trigger’. A trigger is an event that starts your ‘Zap’.
At this point, you can name your Zap in the top left corner of the screen.
In this instance, we want the Zap to be triggered when somebody makes a purchase on our Shopify site. We want it to then push this order into Stream so that we can add the delivery of this item when creating a run within Stream.
In the ‘1. Trigger’ window, type Shopify into the ‘Search apps’ field and select the Shopify item that appears in the list.
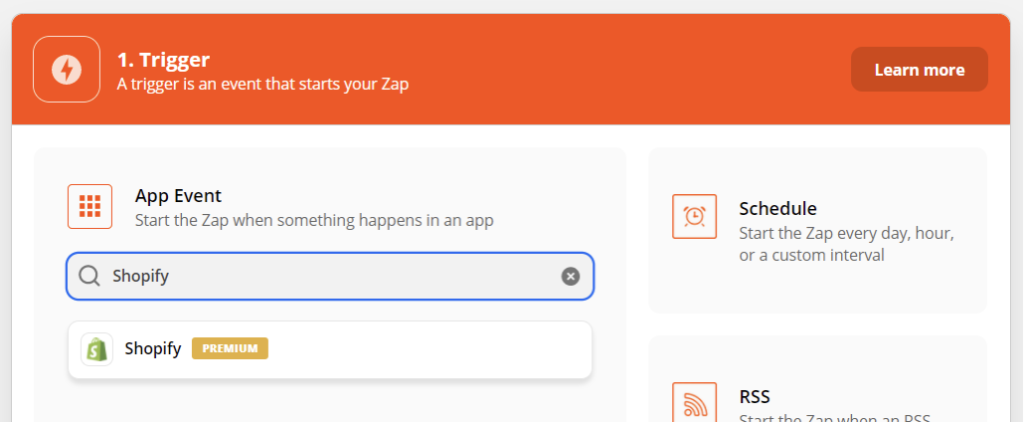
For the Trigger event, we want to select ‘New Order’ and then click ‘Continue’.

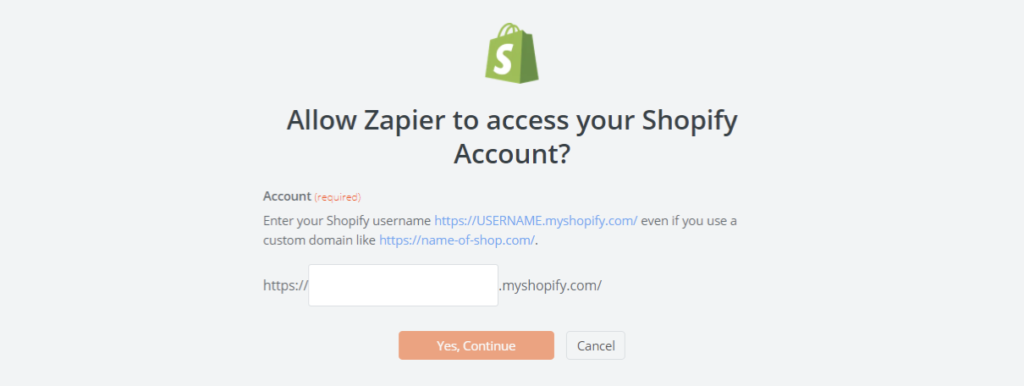
This will now prompt you to sign into your Shopify account to enable the Zapier integration.
Click ‘Sign In’ and then enter your shopify username in the window that pops up.
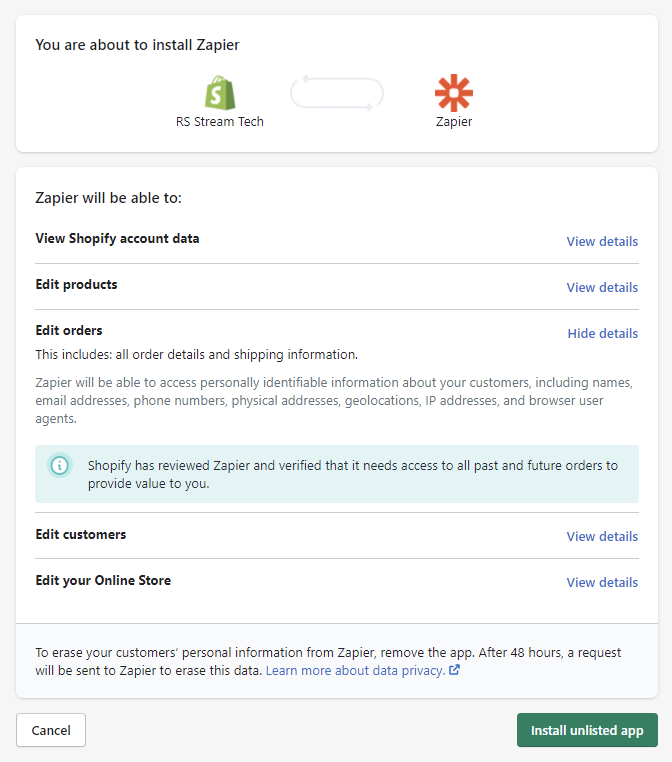
This will then show you the details of what information Zapier will have access to and also explains how you can erase the customer information that will be passed through Zapier during the ‘task’.
If you’re happy, go ahead and press ‘install unlisted app’.
This will return you to the Zapier Trigger window where you can now click ‘Continue’.
You will now see a ‘Test Trigger’ screen. Zapier will go into your Shopify orders and pull through details from a recent order so you can confirm that your account is pulling the right information through.
Step 3: Create the Stream ‘Action’
Now you will see the 2. Action window. An action is an event a Zap performs after it starts (is triggered by Shopify).
Type ‘Stream Go’ into the ‘Search apps’ field and select Stream Go from the list.
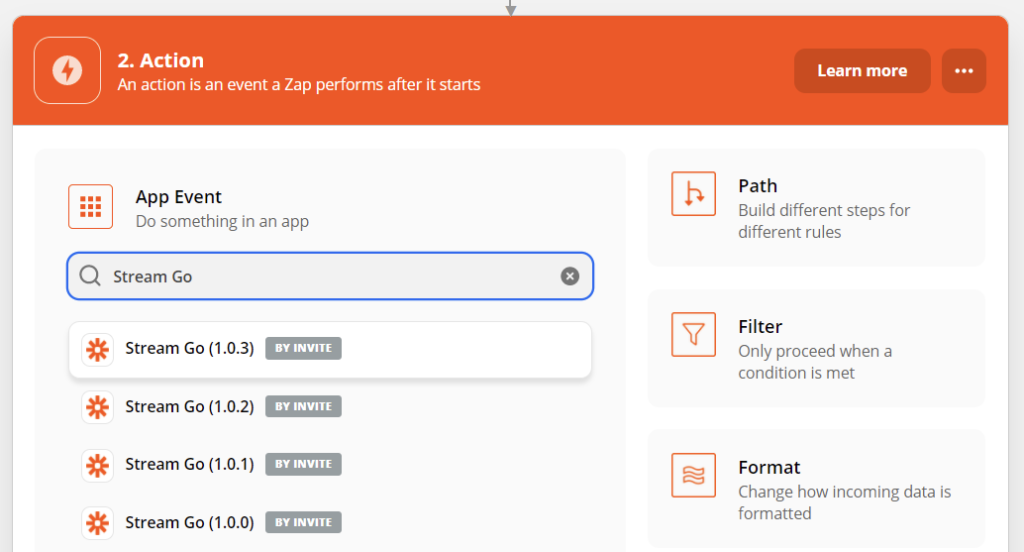
(There could be various versions of the integration in Zapier at the moment as we are perfecting our integration, so make sure you select the most recent version of Stream Go. You may be required to accept an invitation before you can use this integration. If this is the case, you will have been sent the invitation link by a member of our [email protected] team.)
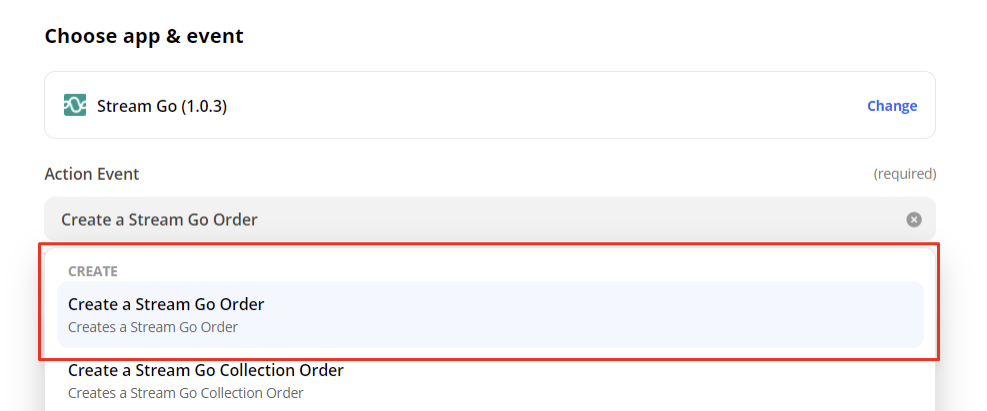
For the ‘Action’ event, we want to select ‘Create a Stream Go Order’. This is so an order will be created in Stream once an order is placed through our Shopify site. Click ‘Continue’.
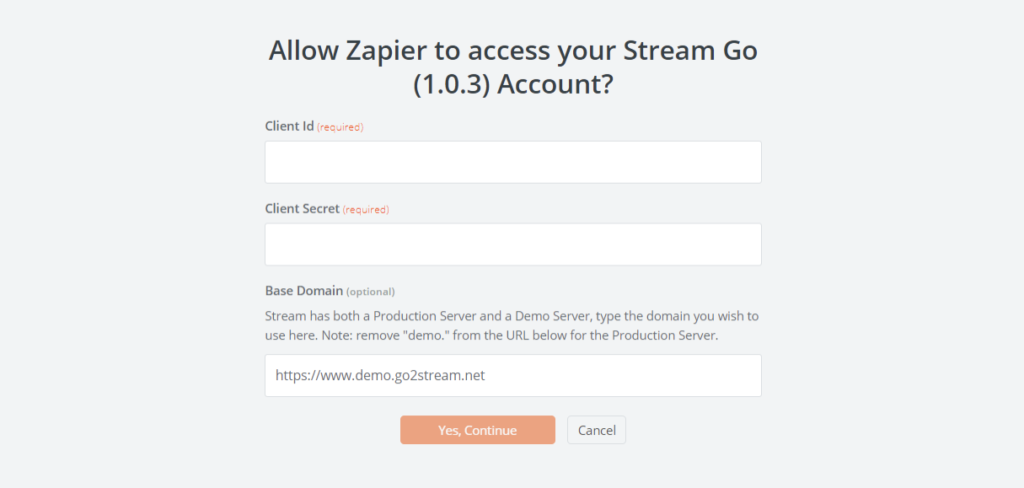
This will now prompt you to sign into your Stream account to enable the Zapier integration.
Enter your Client ID, Client Secret (Password) and ensure the Base Domain is correct then click ‘Continue’.
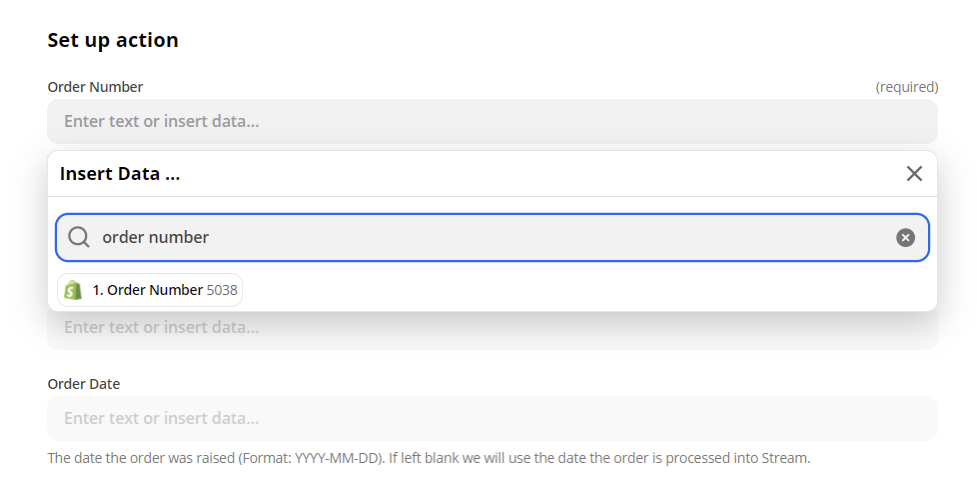
In the next stage, you will set up the action.
The fields you see will be the Stream Fields. Click into each of the fields, it will show you the various fields from Shopify that you can select to populate the relevant fields in Stream when the order is pushed through Zapier. Work through the list selecting all your relevant fields.
The list of Shopify fields is quite long, so you can type into the search field to narrow down the results. As shown in the screenshot below.
Once you have finished assigning all the fields, you will have the ability to test the integration.
This will create a test order within Stream showing how all the fields will be pulled through from Shopify using the test data from the Trigger setup. Click ‘Test and Continue’ at the bottom of the page.
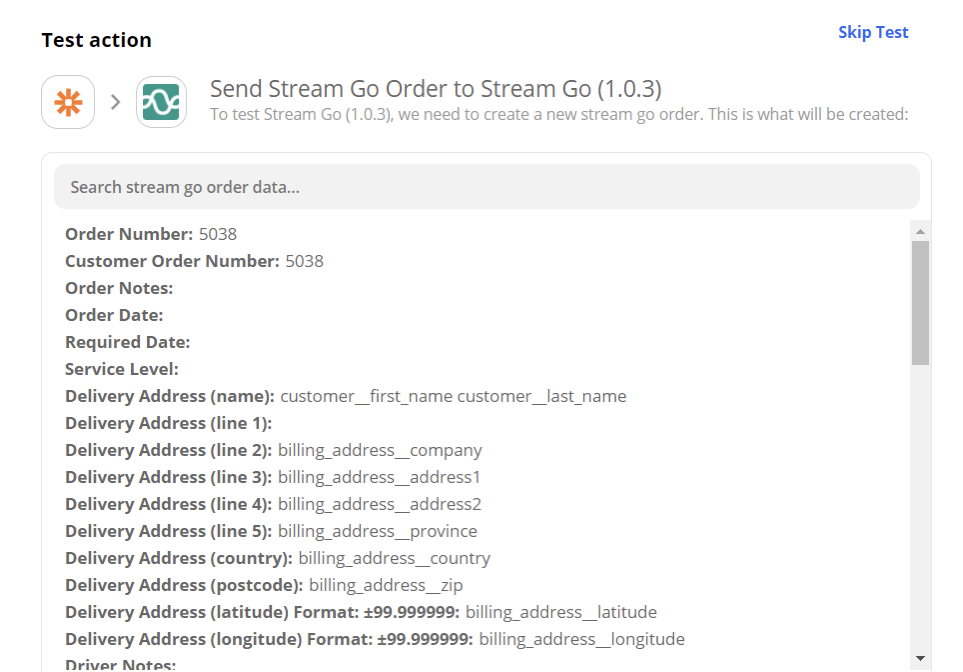
If anything doesn’t look quite right when you run the test, you can jump back in to edit either the ‘trigger’ or the ‘action’ and make sure everything is working correctly and pulling through the information that you need.
Step 4: Turn on the Zap
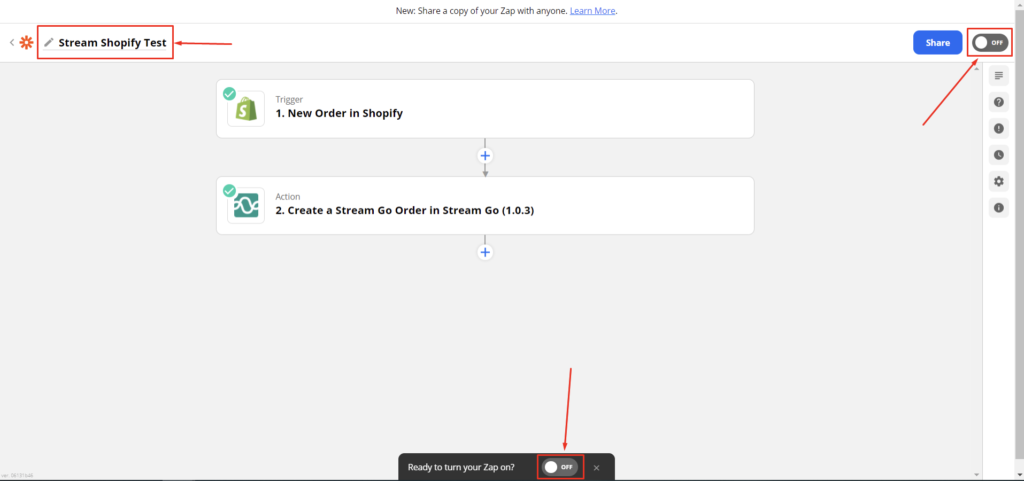
Once you’ve finished testing your Zap, you will be returned to the Screen Showing the various steps of the Zap you have created.
If you haven’t already, give your Zap a name using the editor in the top left of the window.
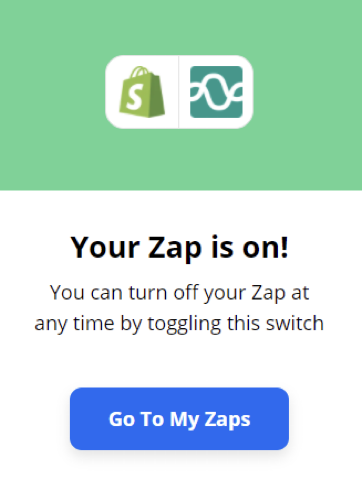
Once your Zap is set up and named, you can use either of the two ‘on buttons’, highlighted in the screenshot below, to turn your Zap on!
Once the Zap is turned on, you can sit back and watch as all your Shopify orders are pushed directly into Stream, ready for you to schedule their deliveries.
Additional information:
If a customer updates an order, you can create a Shopify Trigger using ‘Order Updated’ and the subsequent action could be to update the details within Stream.
You could also create a Trigger using ‘Order Cancelled’ within Shopify to remove an order from Stream.
Note: the Zapier Plan you have selected determines how many different Zaps you can use. Each of these additional items will be a new ‘Zap’. Every time one of these is actioned it will also count towards the number of ‘tasks’ that you have selected on your plan.
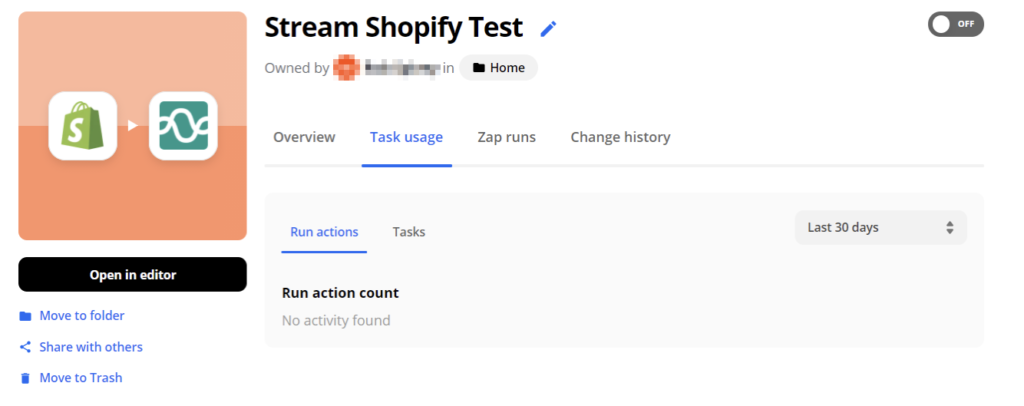
Within ‘My Zaps’ inside Zapier, you can view/change the details of your Zap, edit the ‘trigger or action’, turn the zap on or off and also see how many times the zap has been run / tasks have been completed.