‘Goods On-Hand Scanning’ is a feature in Stream that has been designed to streamline depot operations by efficiently logging incoming stock.
It allows users to scan barcode labels (providing Stream is aware of the barcode itself) and automatically update the ‘On-Hand’ date for an item line matching the barcode once the required quantity of items has been scanned. Once the ‘On-Hand’ date is automatically updated in Stream, the order will then become available for planning.
In this guide, we’ll cover how to enable Goods On-Hand Scanning within the desktop version of Stream, as well as how to use the functionality within the mobile app.
Enabling Goods On-Hand Scanning
To enable Goods On-Hand Scanning in the desktop version of Stream:
- In the main menu, click ‘Settings’
- Click the ‘Mobile App’ tab in the left sidebar
- Scroll down to the ‘Scan Goods on Hand’ section
- Check the ‘Scan goods on hand’ box to enable the feature for all users with access to depot scanning
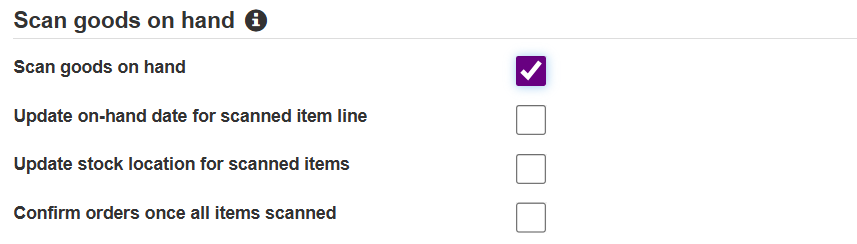
- Now check the boxes for the options you wish to use in your goods on-hand scanning workflow:
- Update on-hand date for scanned line items – This automatically sets the ‘on hand’ date to the current date and time upon scanning
- Update stock location for scanned items – This updates the item’s location based on the planned delivery method or the user’s default depot if no delivery method is assigned to the order group.
- Confirm orders once all items scanned – This automatically confirms the order in Stream once every item on that order has been scanned.
Using Goods On-Hand Scanning in the mobile app
Once Goods On-Hand has been enabled in the desktop version of Stream, users can proceed with scanning using the mobile app.
- From the main menu, tap the ‘Depot Scanning’ button.
- On the ‘Depot Scan’ screen, tap ‘Scan Goods On-Hand’.
- Scan the barcode on the item’s label. You can use the device’s built-in scanner or tap ‘Scan Using Camera’ if your device doesn’t have one.
- After a successful scan, the screen will populate with the order and item information, along with a list of actions performed. You’ll see a green tick next to ‘Quantity Scanned’ once all items for that line have been scanned.
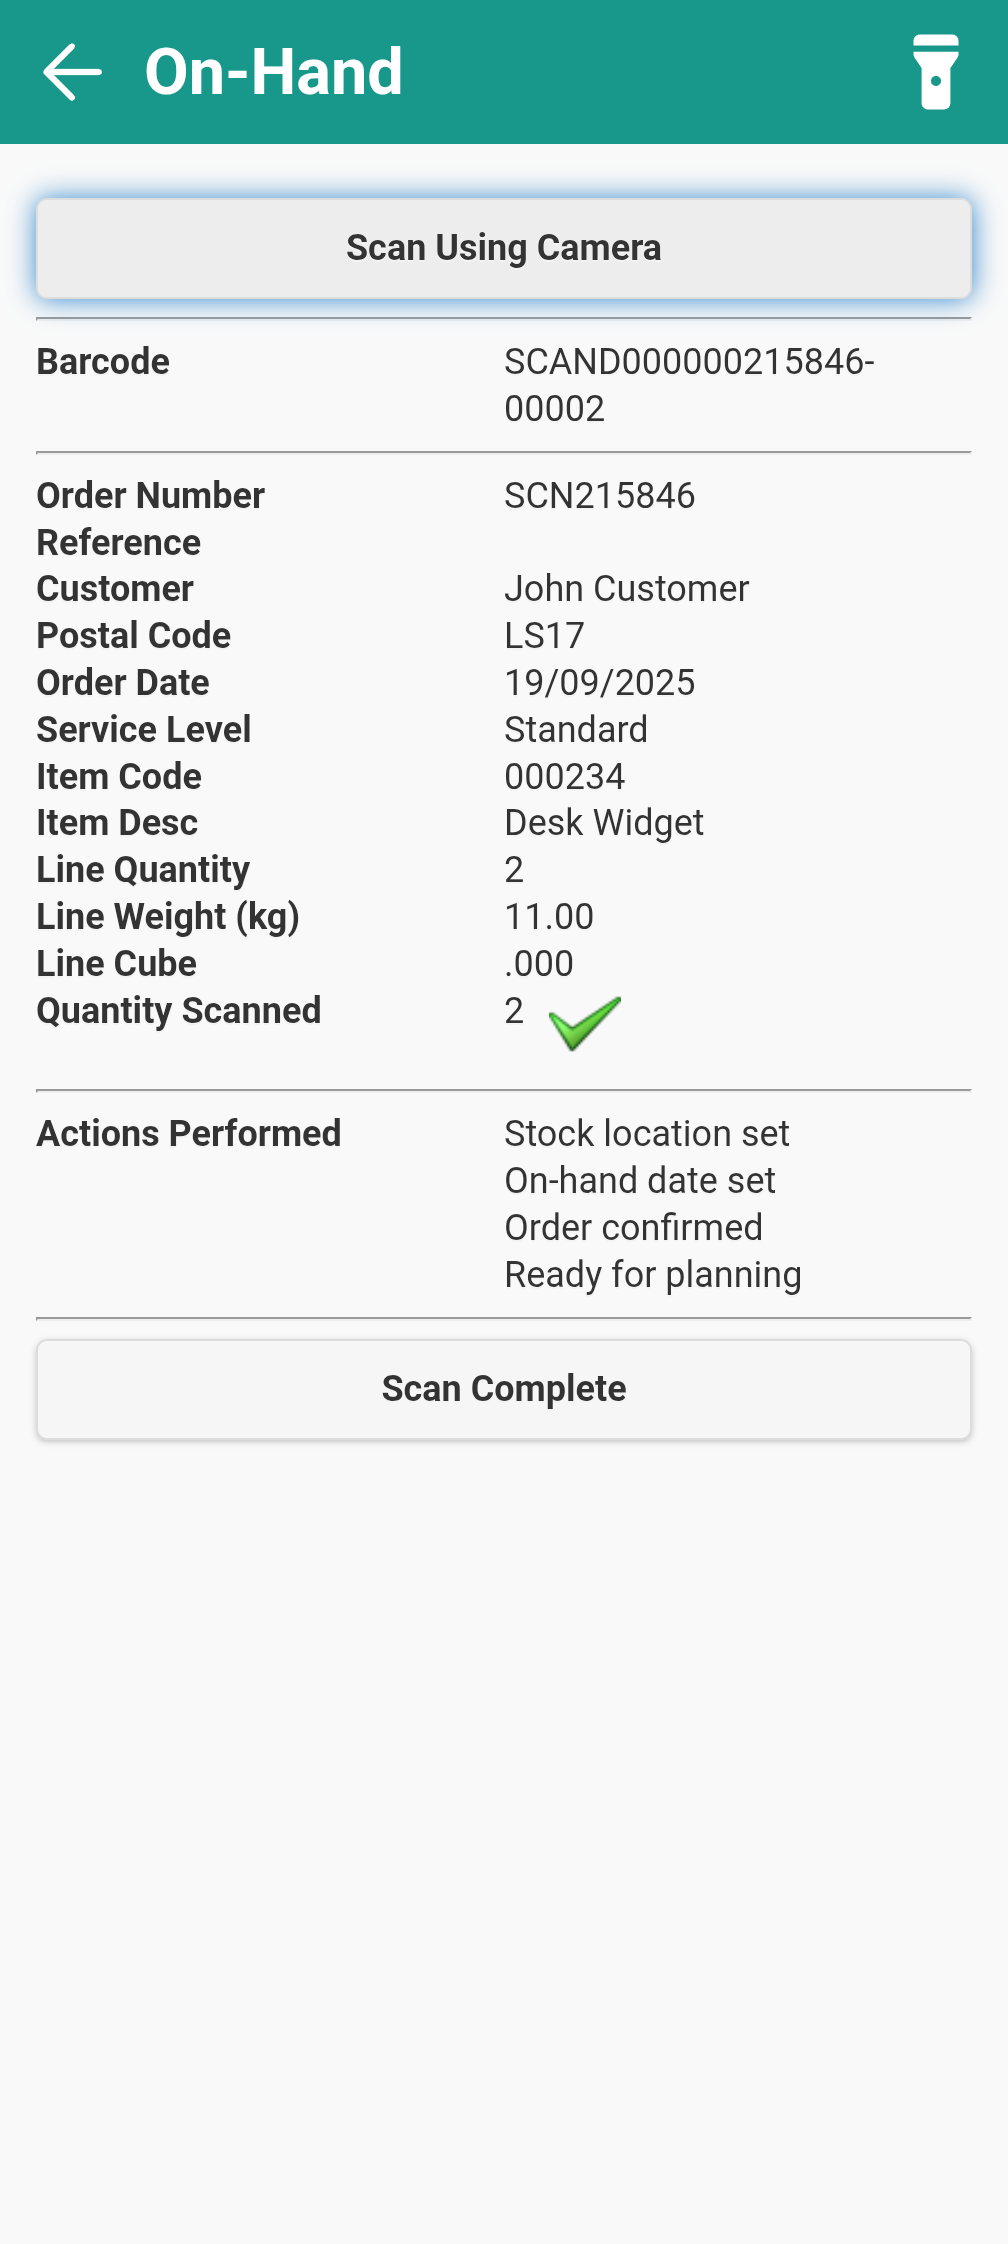
- Once you’ve scanned all the items you need to, tap ‘Scan Complete’ to finish your session.