This step-by-step guide will show you how to scan items onto a van/vehicle using the Stream mobile app.
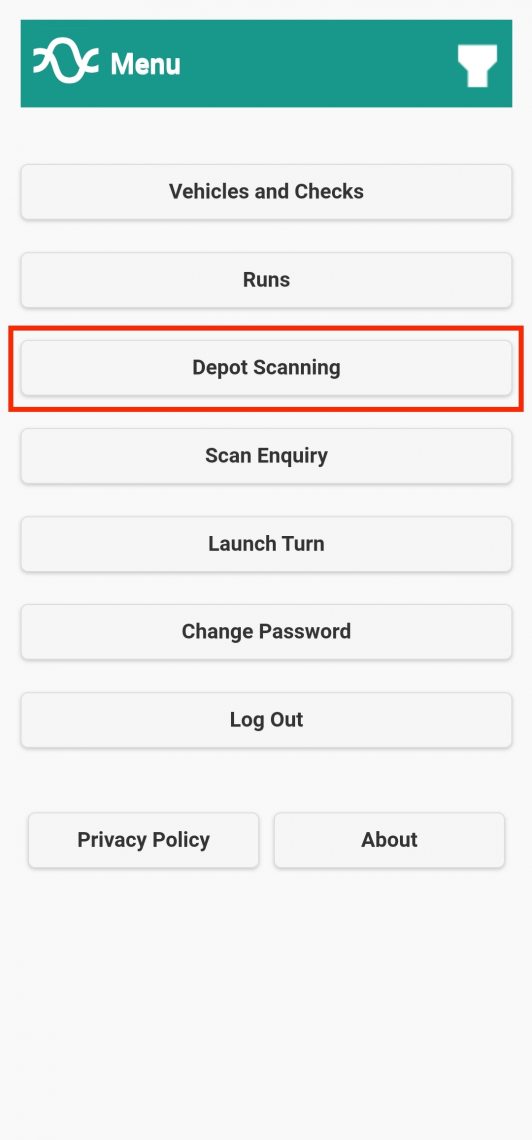
Step 1: Go into ‘Depot Scanning’ in the Stream mobile app
With the Stream mobile app open, tap ‘Depot Scanning‘ from the main menu in Stream.
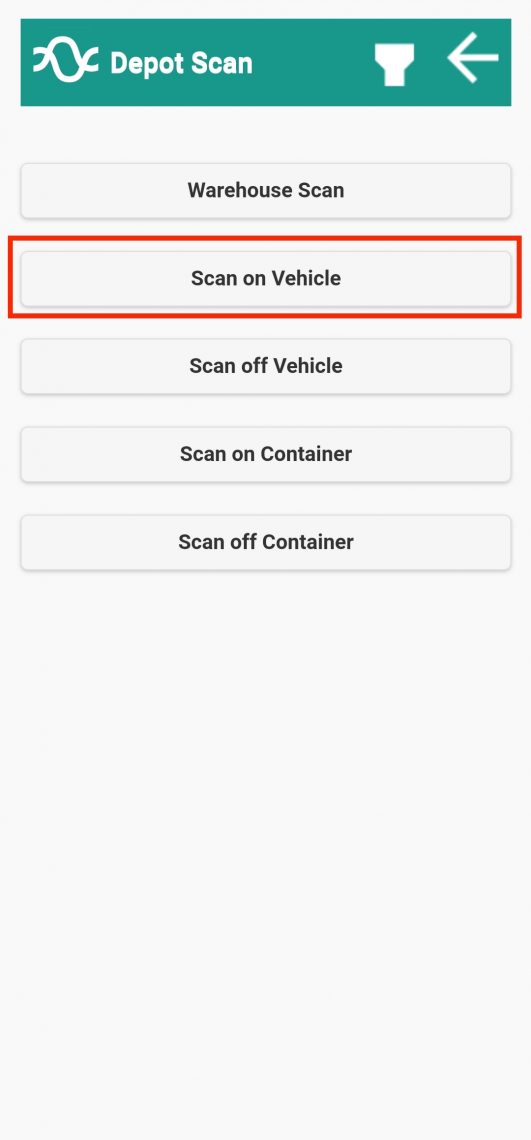
Step 2: Select the scan type
On the next screen you will see a number of different options available for scanning. But in order to scan items onto a van/vehicle we need to select the ‘Scan on Vehicle’ option.
Step 3: Select the run
On the next screen you will then see a list of the ‘Closed’ runs that are ready to be loaded.
You will see that the status for your run currently says ‘Not Scanned’, but this will change to ‘In progress’ as you start scanning and then ‘Complete’ once all items have been scanned onto the van.
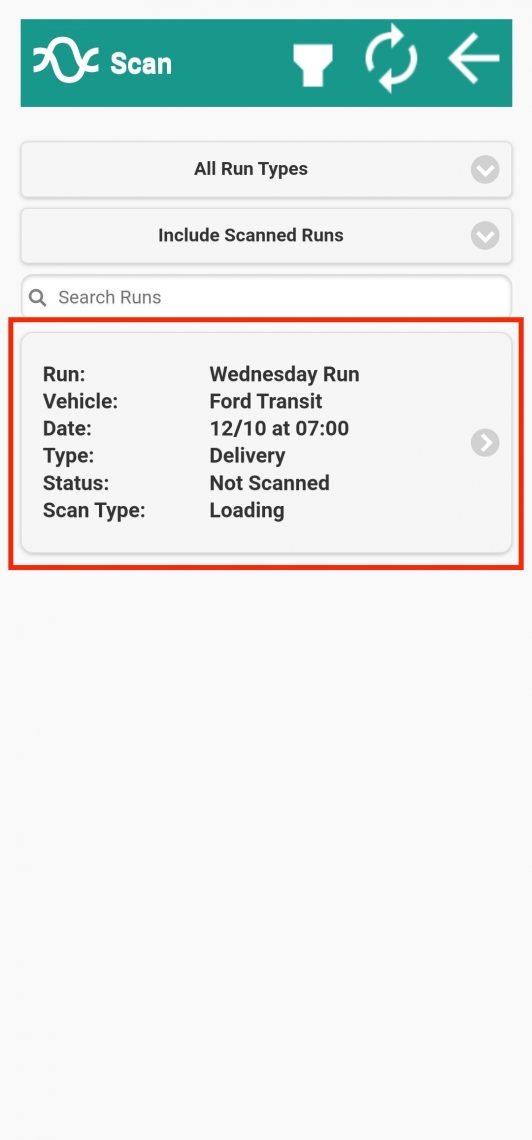
Tap the run to enter it.
Step 4: Select how you’d like to scan
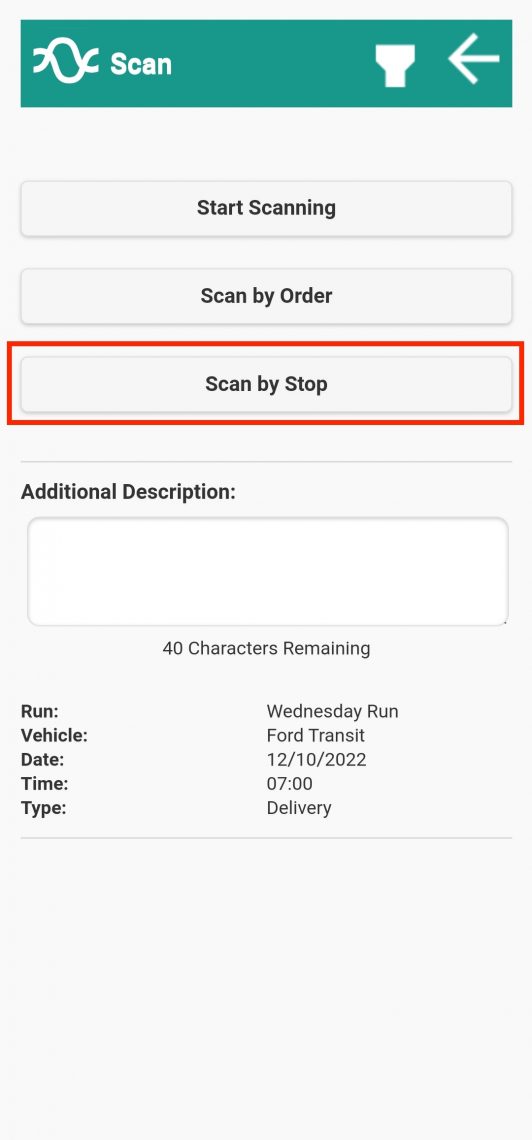
Now that you have selected the run, you will see three options for scanning
- “Start Scanning” – will allow users to scan items onto the van in any order
- “Scan by Order” – will list the orders in reverse order, so that the first order scanned onto the van will be the last order delivered
- “Scan by Stop” – Same as “Scan by Order” except it will consolidate multiple orders for the same customer into one list (if you have any customers that have placed more than one order)
We’re going to select ‘Scan by Stop’
Step 5: Select the stop
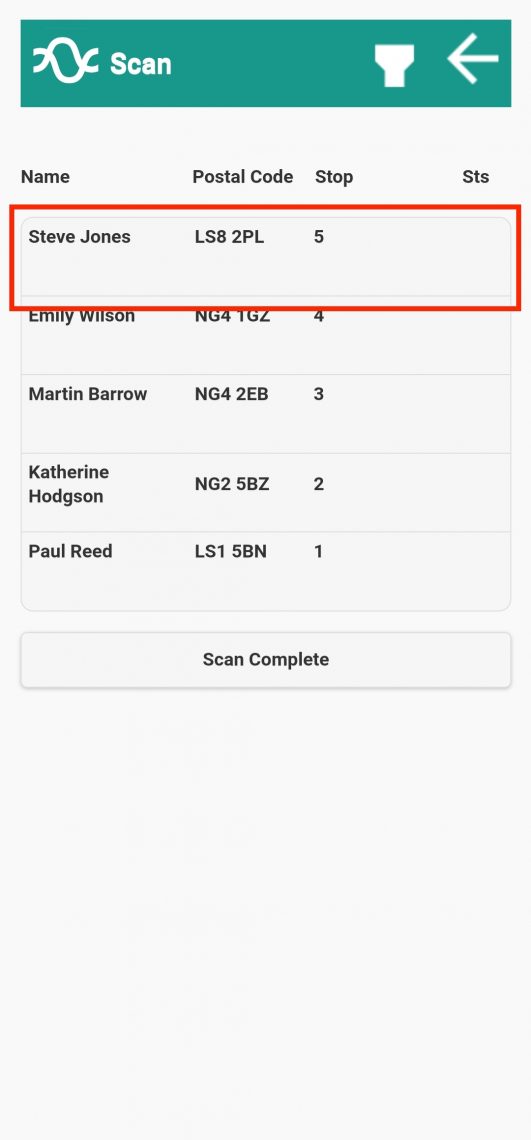
When we’ve clicked ‘Scan by Stop’ we can now see our load list, which starts at Stop No 5 and works backwards. Here you need to tap on the top stop in the list, which in this example is ‘Steve Jones’
Step 6: Scan the items
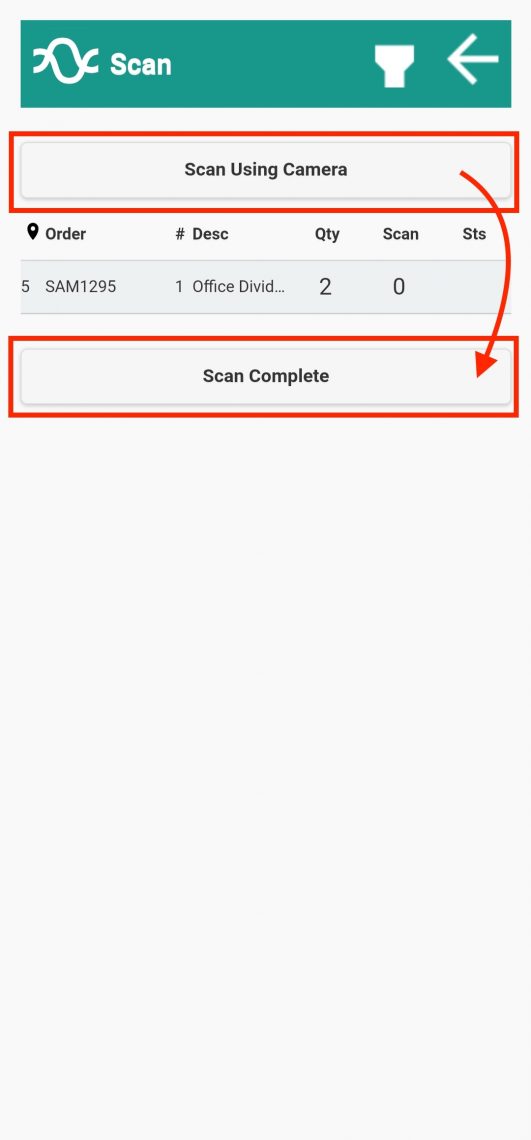
We will then be presented with the list of items to be loaded. In this case, 2 Office Dividers.
You can then press the “Scan Using Camera” button to open your camera and scan the barcodes/QR codes on the labels.
Once the “Scan” quantity has met the required “Qty”, go ahead and tap ‘Scan Complete’
Step 7: Repeat for each Stop
You will see the the status for that stop has now been updated and you can go ahead and repeat that process to scan the items for each of the orders/stops.
As each stop has all of it’s items scanned, a green tick will be added to confirm that it is complete in the Stop list.
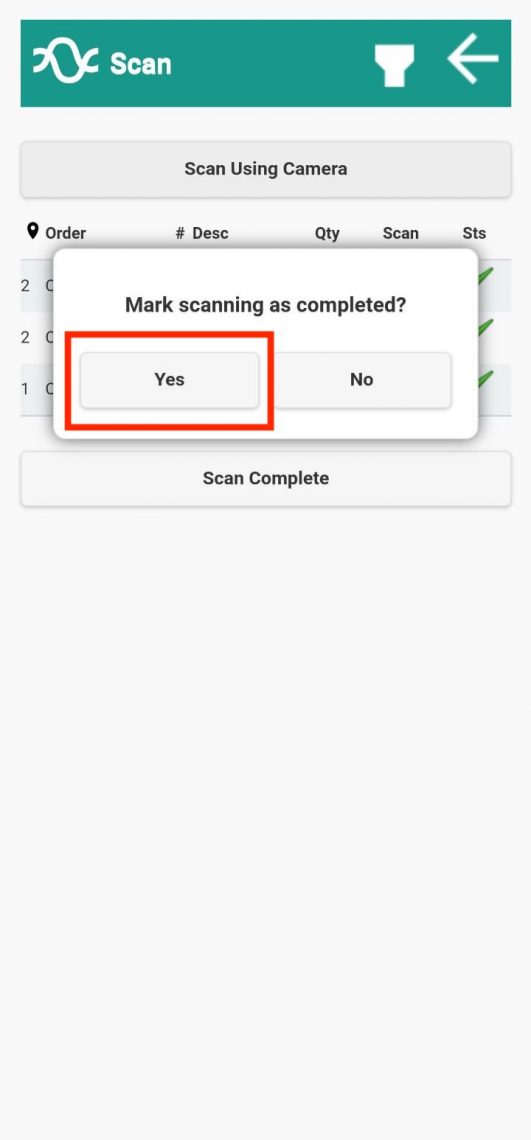
Step 8: Complete the scan
Once all stops have been completed, simply tap ‘Scan Complete’ to confirm that all items have been loaded onto the run.
This will open a confirmation prompt. Tap ‘Yes’ to confirm.