This article assumes that your business has the ‘Mandatory item scanning’ setting enabled.
When scanning barcodes for items at a stop on a run, there is a simple linear workflow, which varies slightly depending on the actions occurring during the process.
Scanning completed successfully
This is the workflow that occurs when all items on a stop are scanned and delivered successfully. In most cases, this is what we hope to be the default scenario.
- On the stop’s ‘Details’ screen, tap the ‘Unloading’ button
- On the ‘Items’ screen, tap the ‘Start Scanning’ button (or just start scanning if using a dedicated scanner)
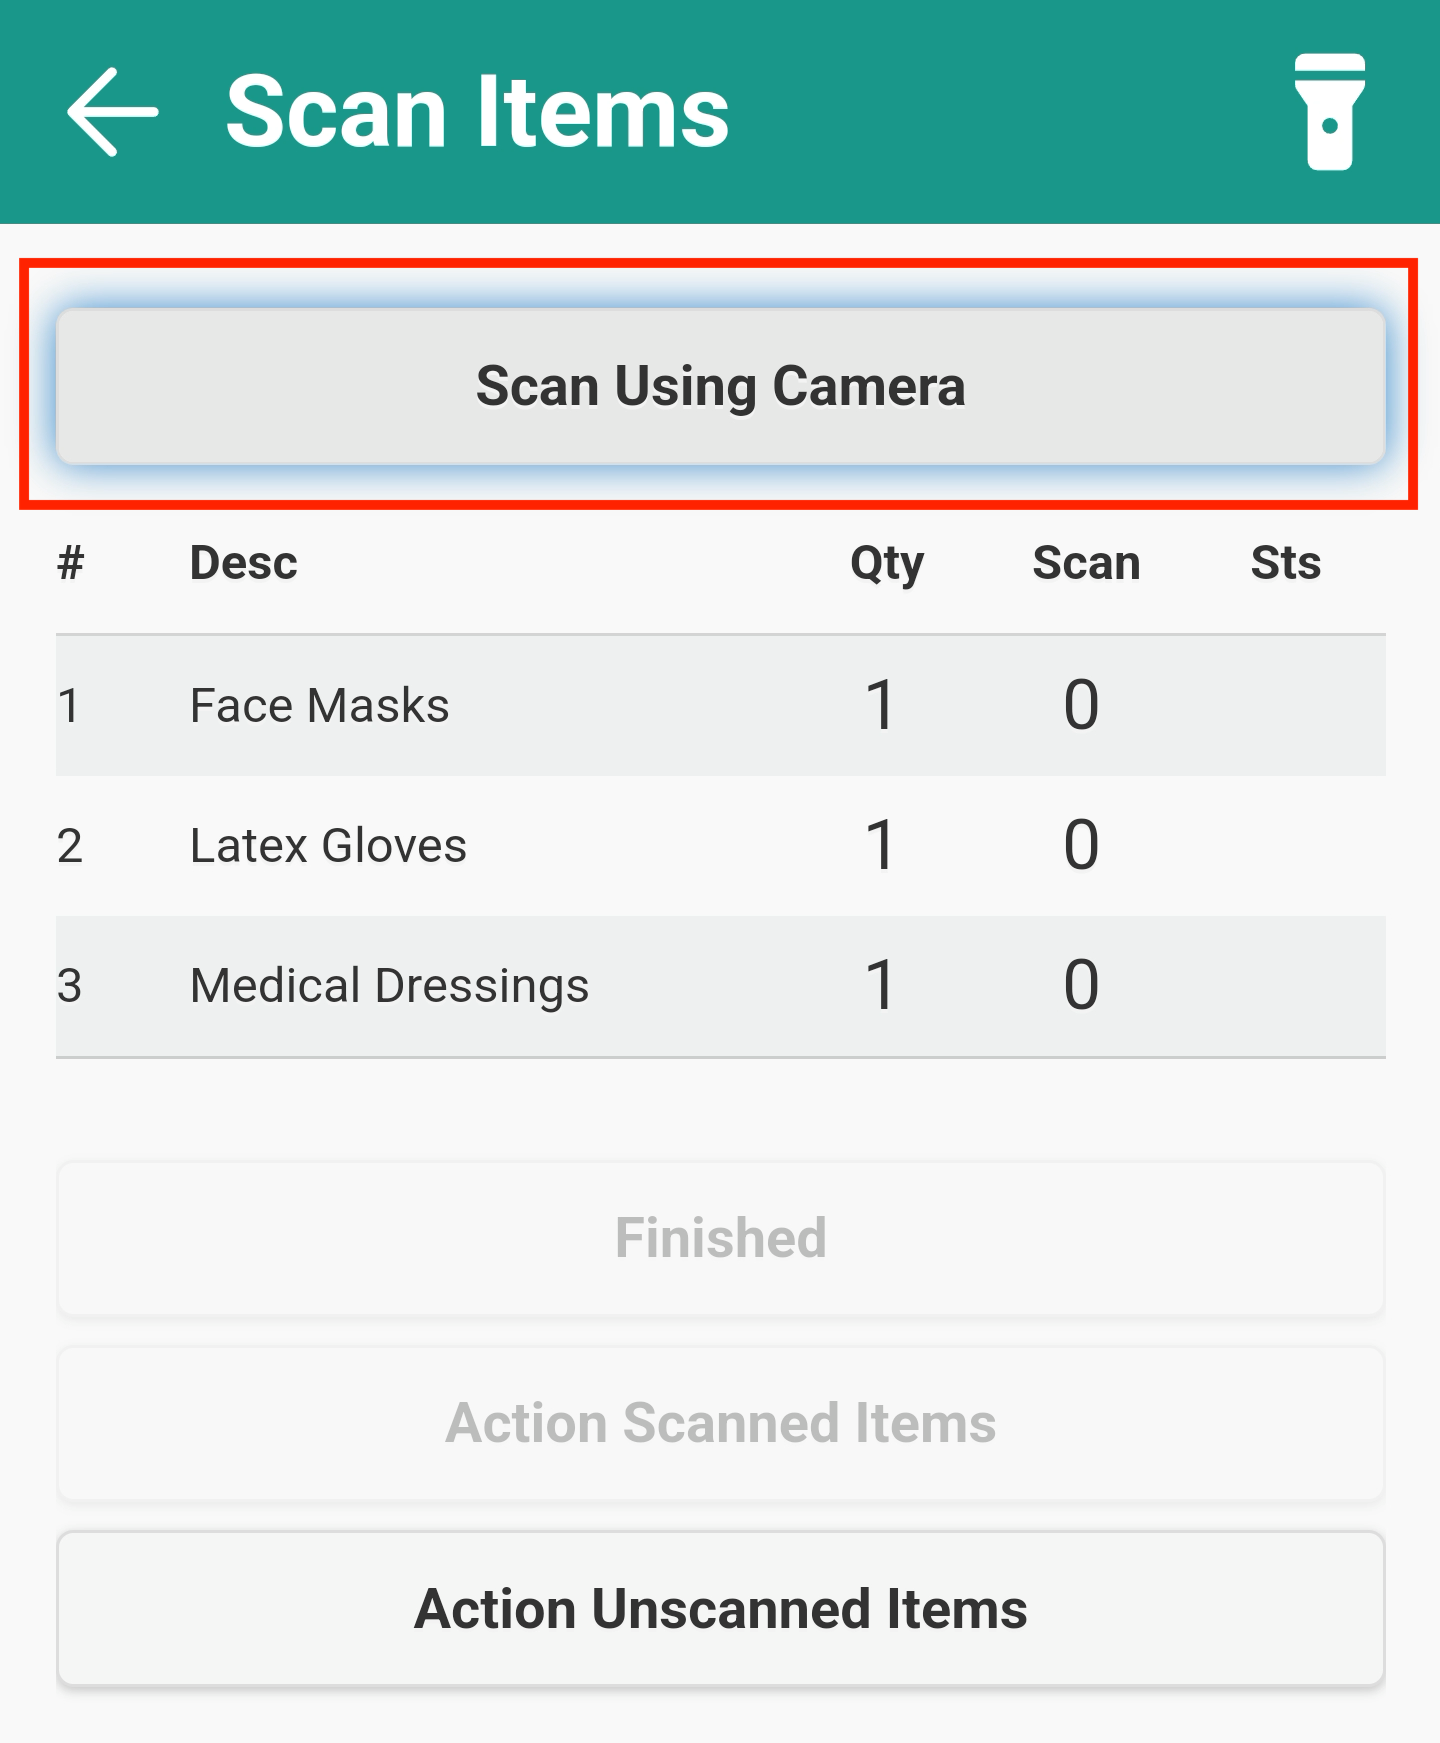
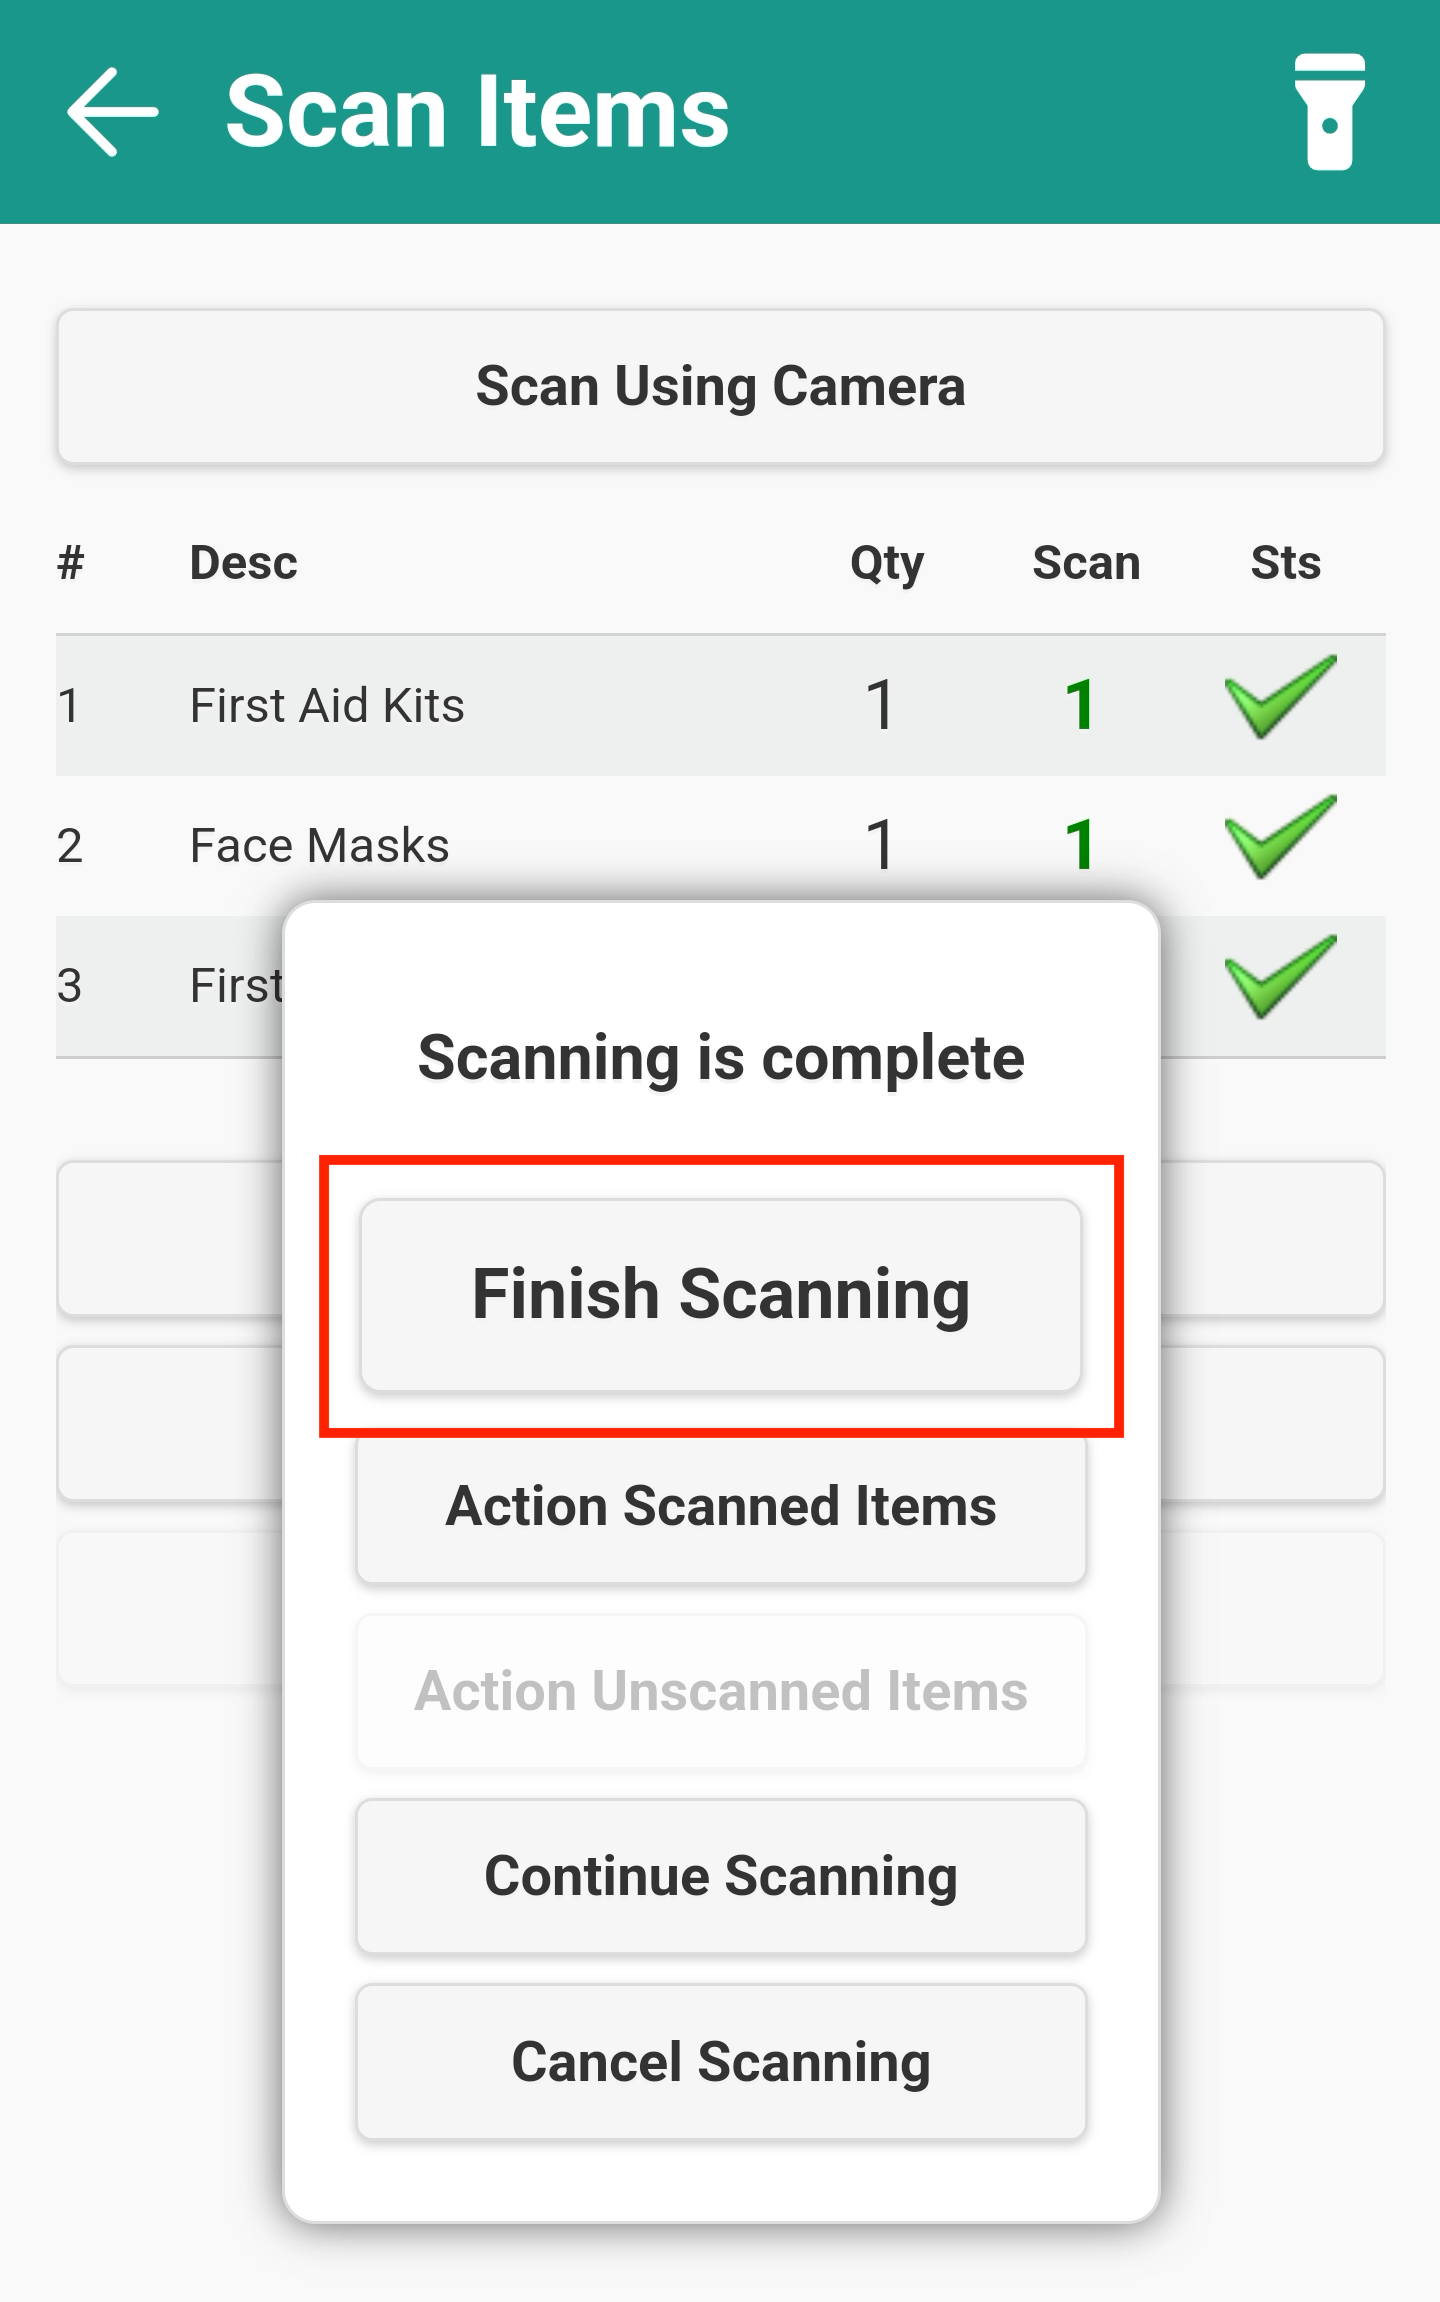
- Use the device camera/scanner to scan the barcodes on each of the items. Once all items are scanned, you will automatically be taken to the ‘Stop Complete’ screen.
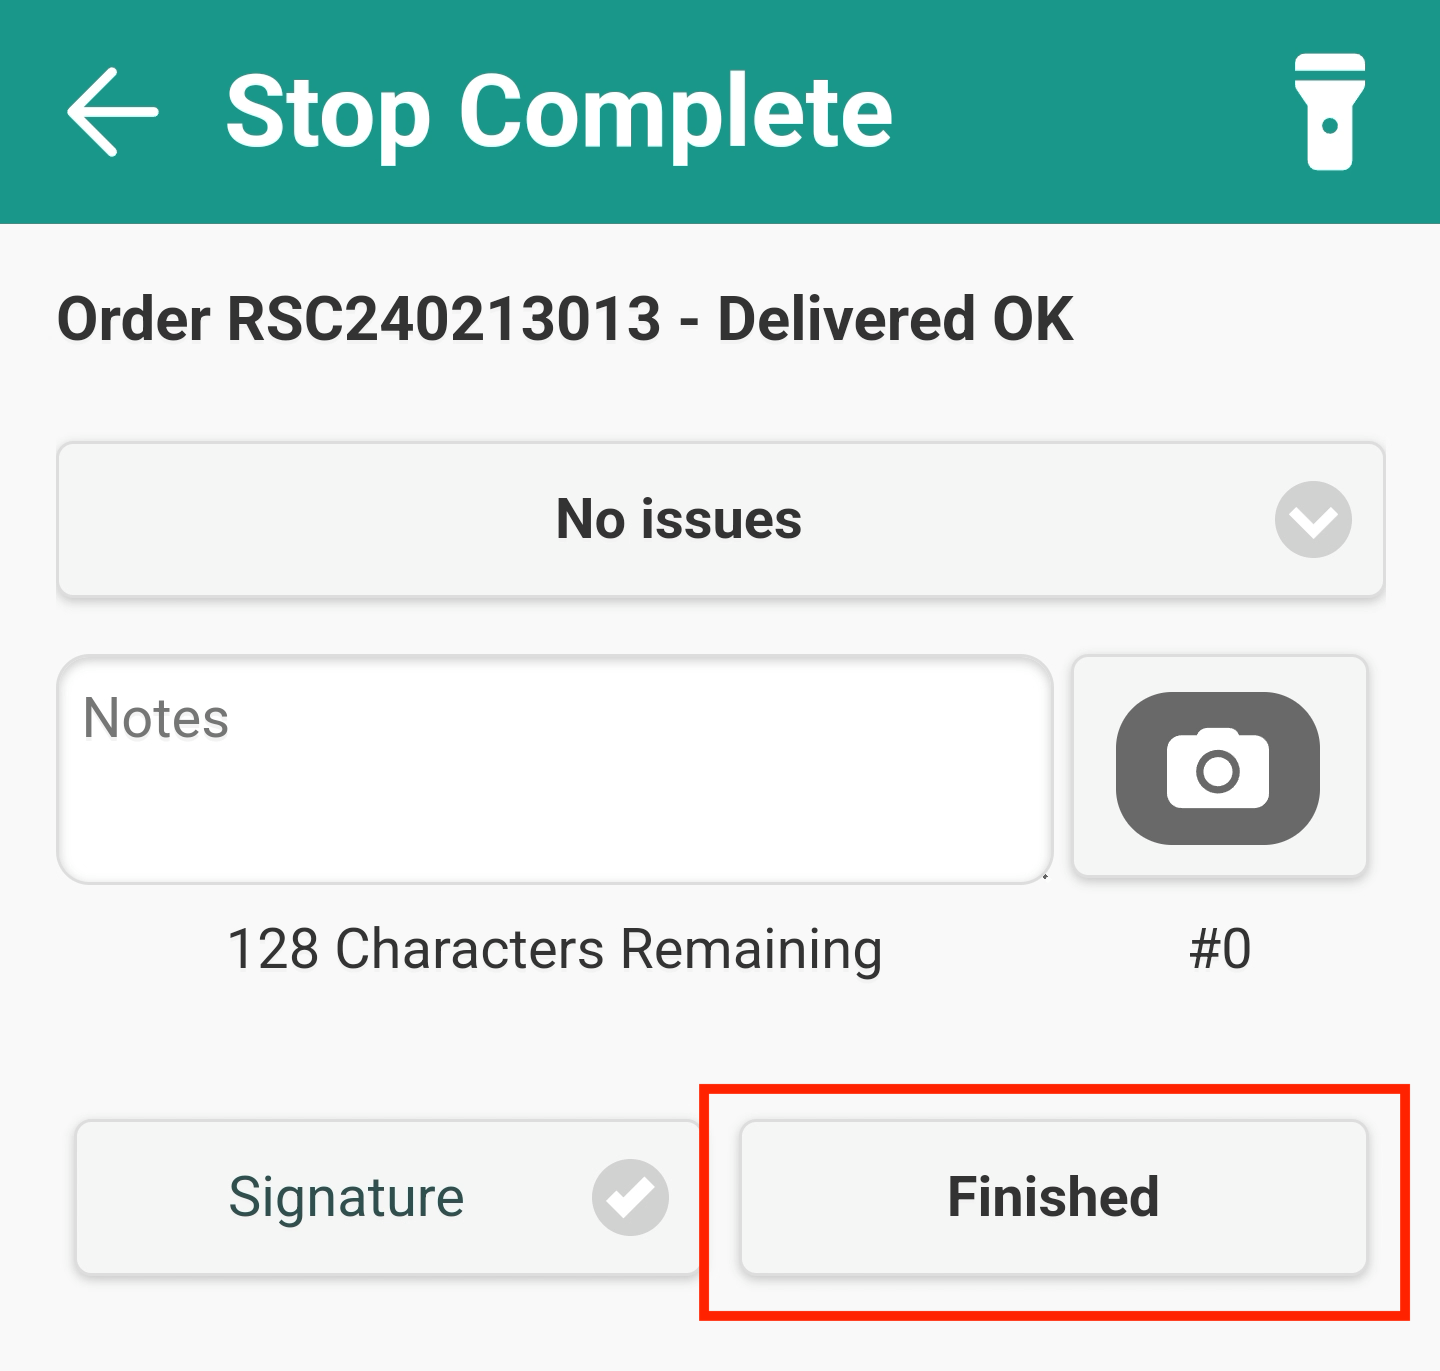
- Capture any required notes and photos for the delivery
- Tap ‘Signature’ to collect the customer signature, enter the recipient’s name and then tap the tick to confirm
- Tap ‘Finished’ to complete the stop
Scanning incomplete: Unscanned items
This workflow will occur during the scanning process if there is an issue with the barcode, or the device’s scanner, that prevents the barcode from being scanned correctly, even though you have managed to successfully deliver the item.
- On the stop’s ‘Details’ screen, tap the ‘Unloading’ button
- On the ‘Items’ screen, tap the ‘Start Scanning’ button (or just start scanning if using a dedicated scanner)
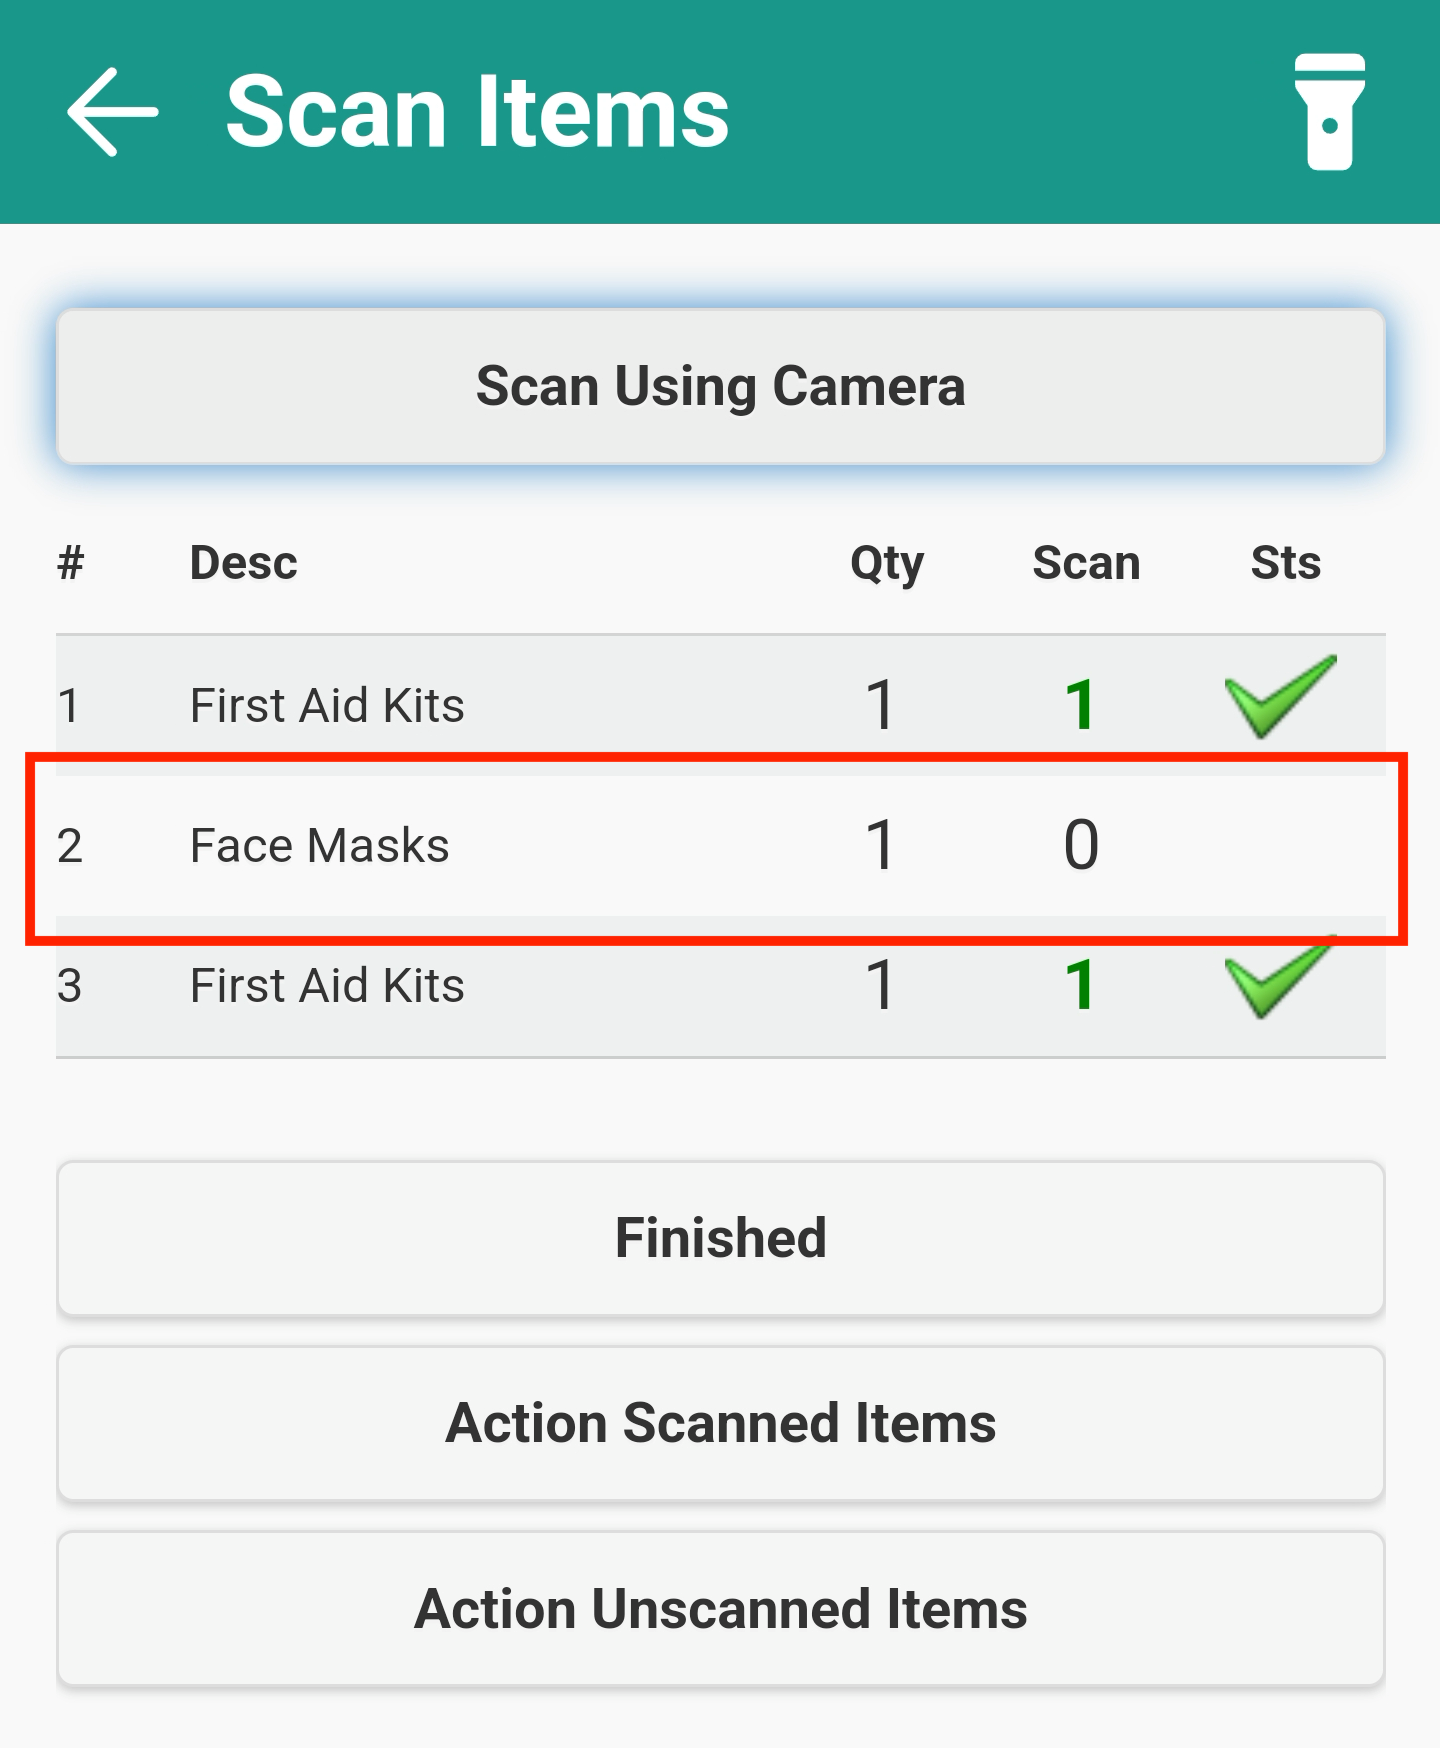
- Use the device camera/scanner to scan the barcodes on each of the items that you are able to scan
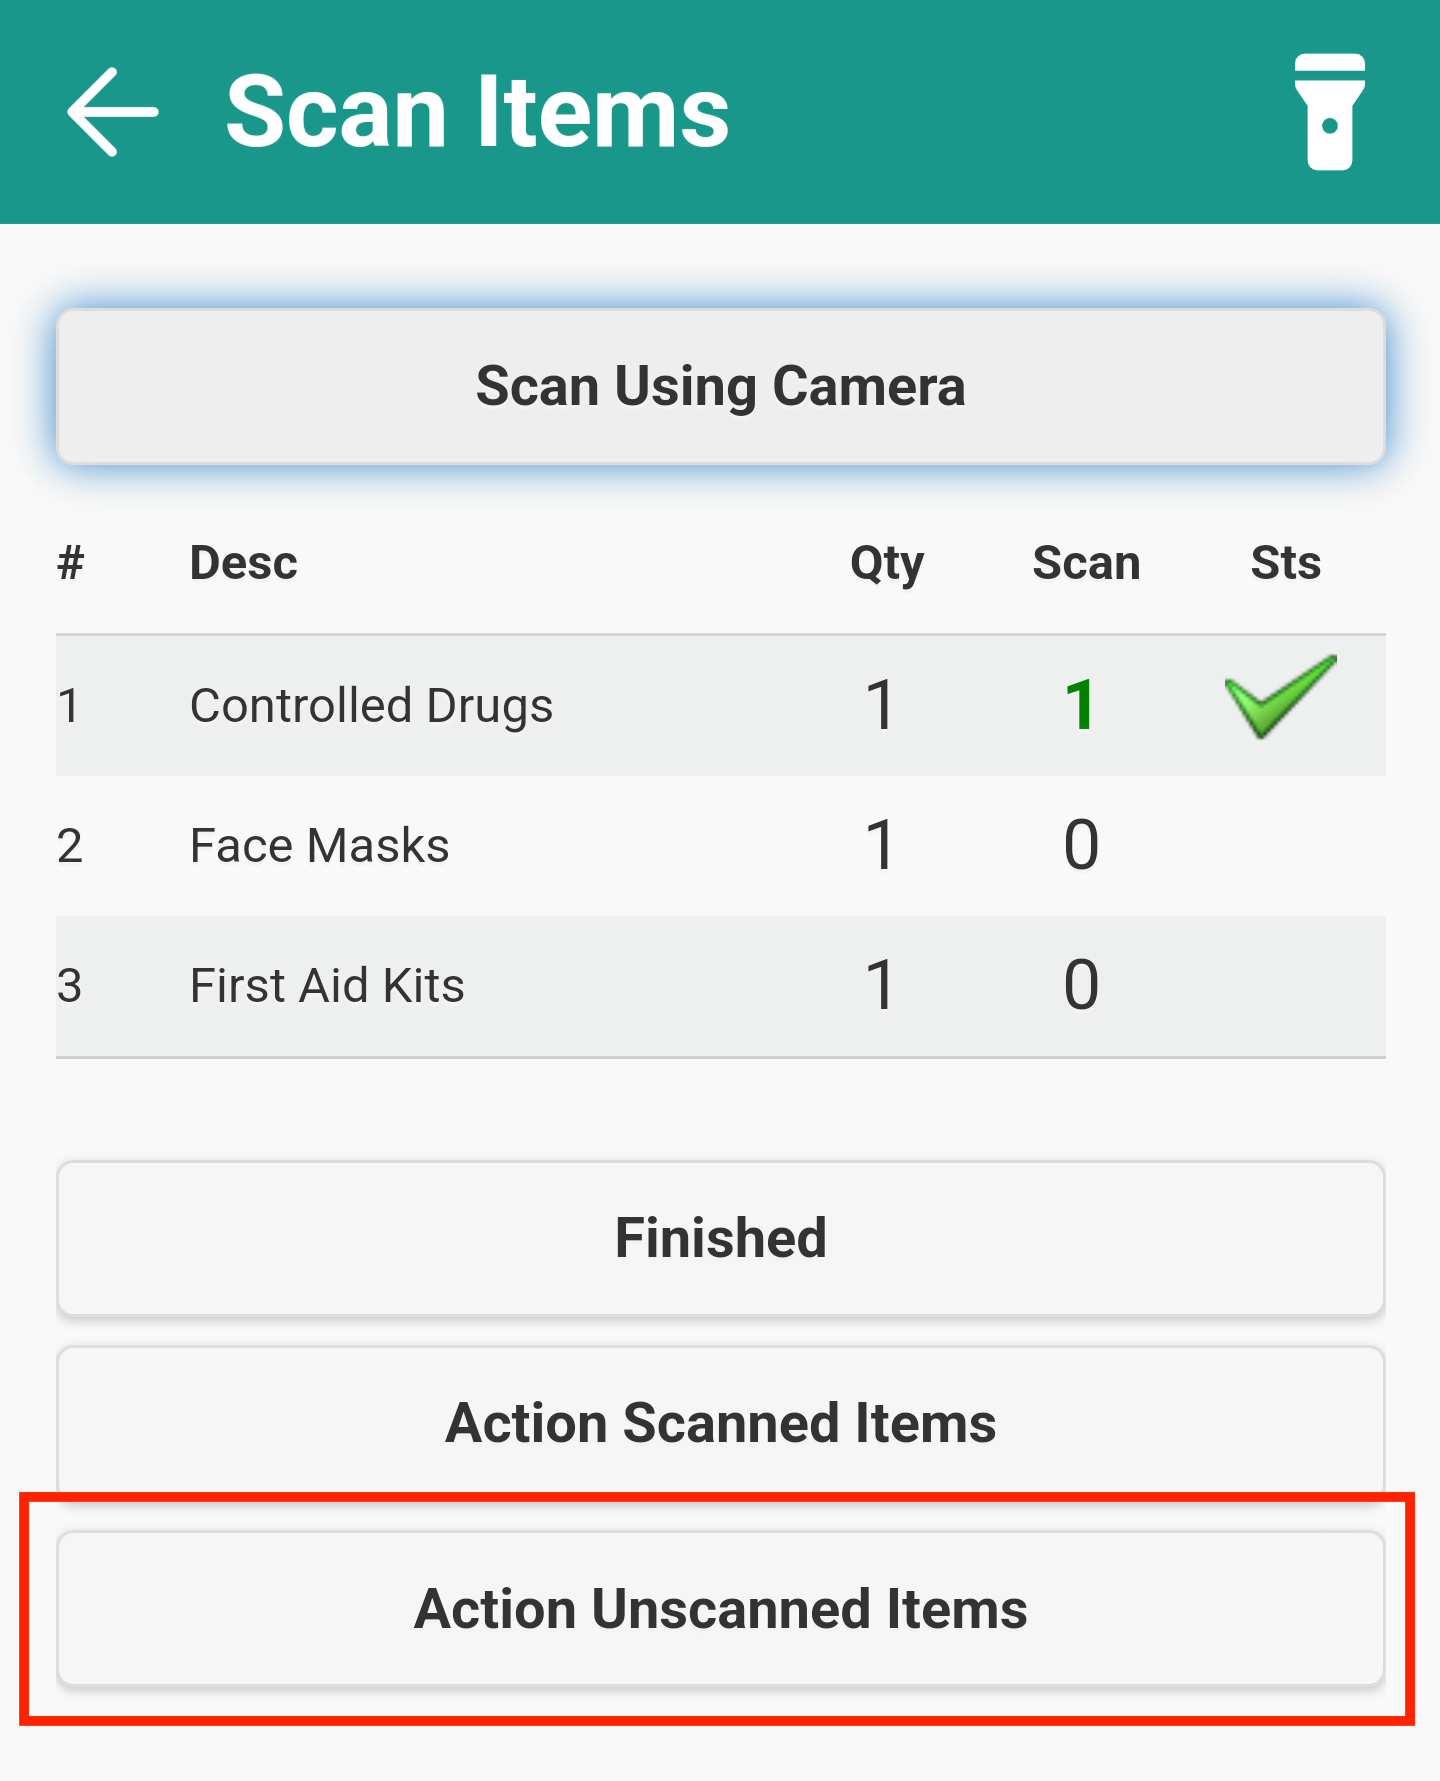
- Tap the item row for any item you’re unable to scan, (or tap the ‘Action Unscanned Items’ button if there are multiple)
- Select ‘Delivered OK’ as the status, and then ‘Not scanned’ as the reason code
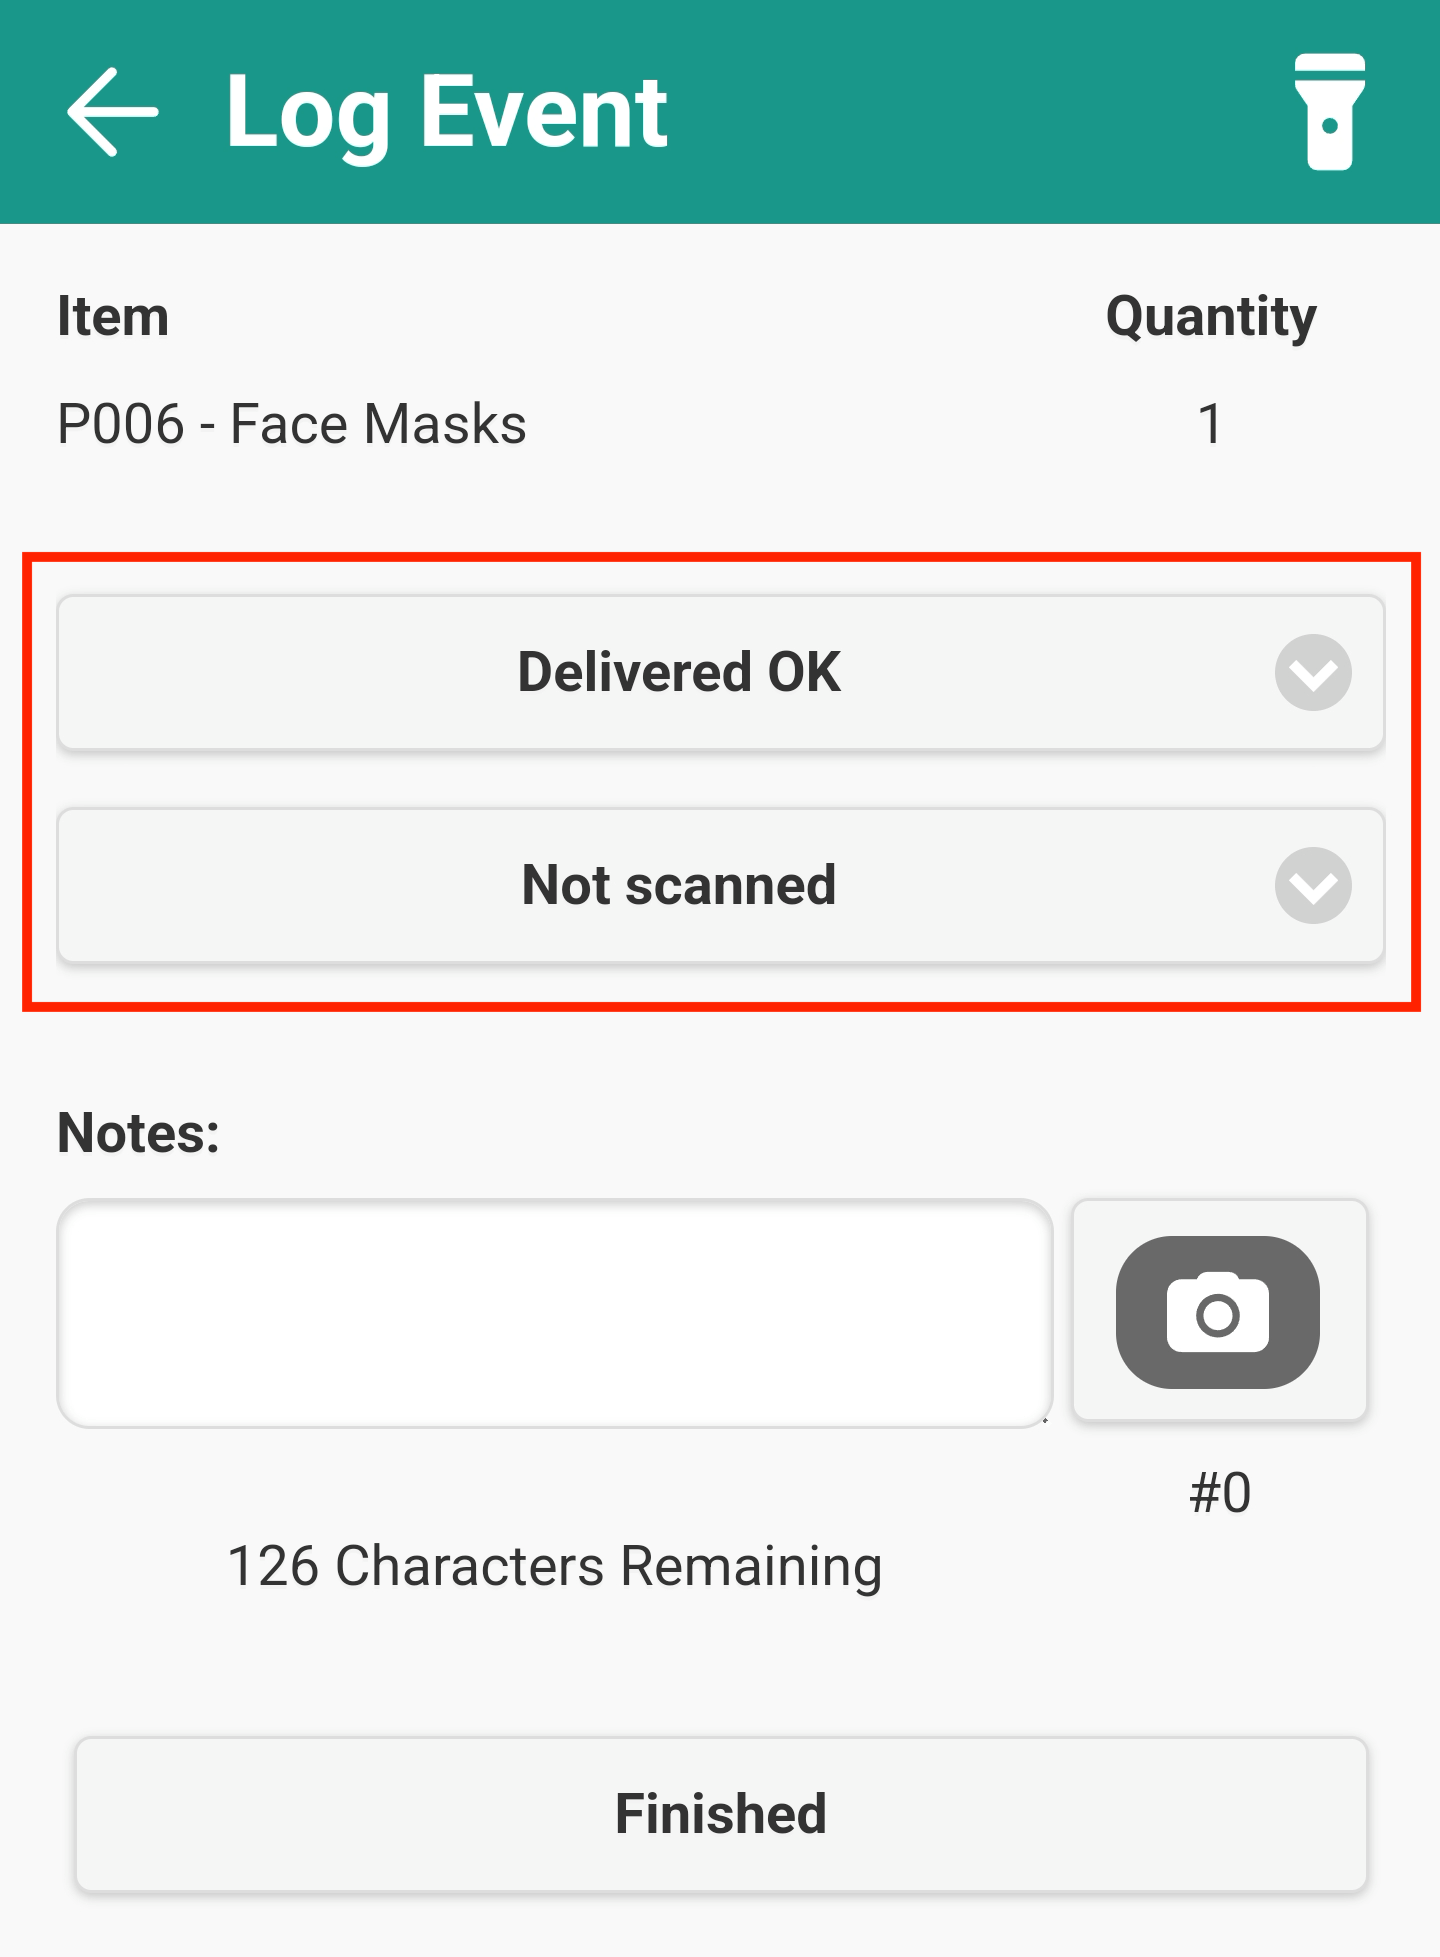
- Capture any required notes and photos for this individual item
- Tap ‘Finished’ (and repeat on any additional part-delivered/failed items if updating individually)
- Once all items have been actioned, click ‘Finished Scanning’ on the popup window
- Capture any required notes and photos for the delivery
- Tap ‘Signature’ to collect the customer signature, enter the recipient’s name and then tap the tick to confirm
- Tap ‘Finished’ to complete the stop
Scanning incomplete: Part-delivered/failed items
This is the workflow that will occur during the scanning process when a delivery needs to be marked as ‘Delivered with Issues’ or ‘Delivery Failed’
- On the stop’s ‘Details’ screen, tap the ‘Unloading’ button
- On the ‘Items’ screen, tap the ‘Start Scanning’ button (or just start scanning if using a dedicated scanner)
- Use the device camera/scanner to scan the barcodes on each of the items that you are able to scan
- Tap the item row for any item that is part-delivered or failed delivery (or tap the ‘Action Unscanned Items’ button if there are multiple)
- Select the delivery status and reason code from the dropdown menu(s)
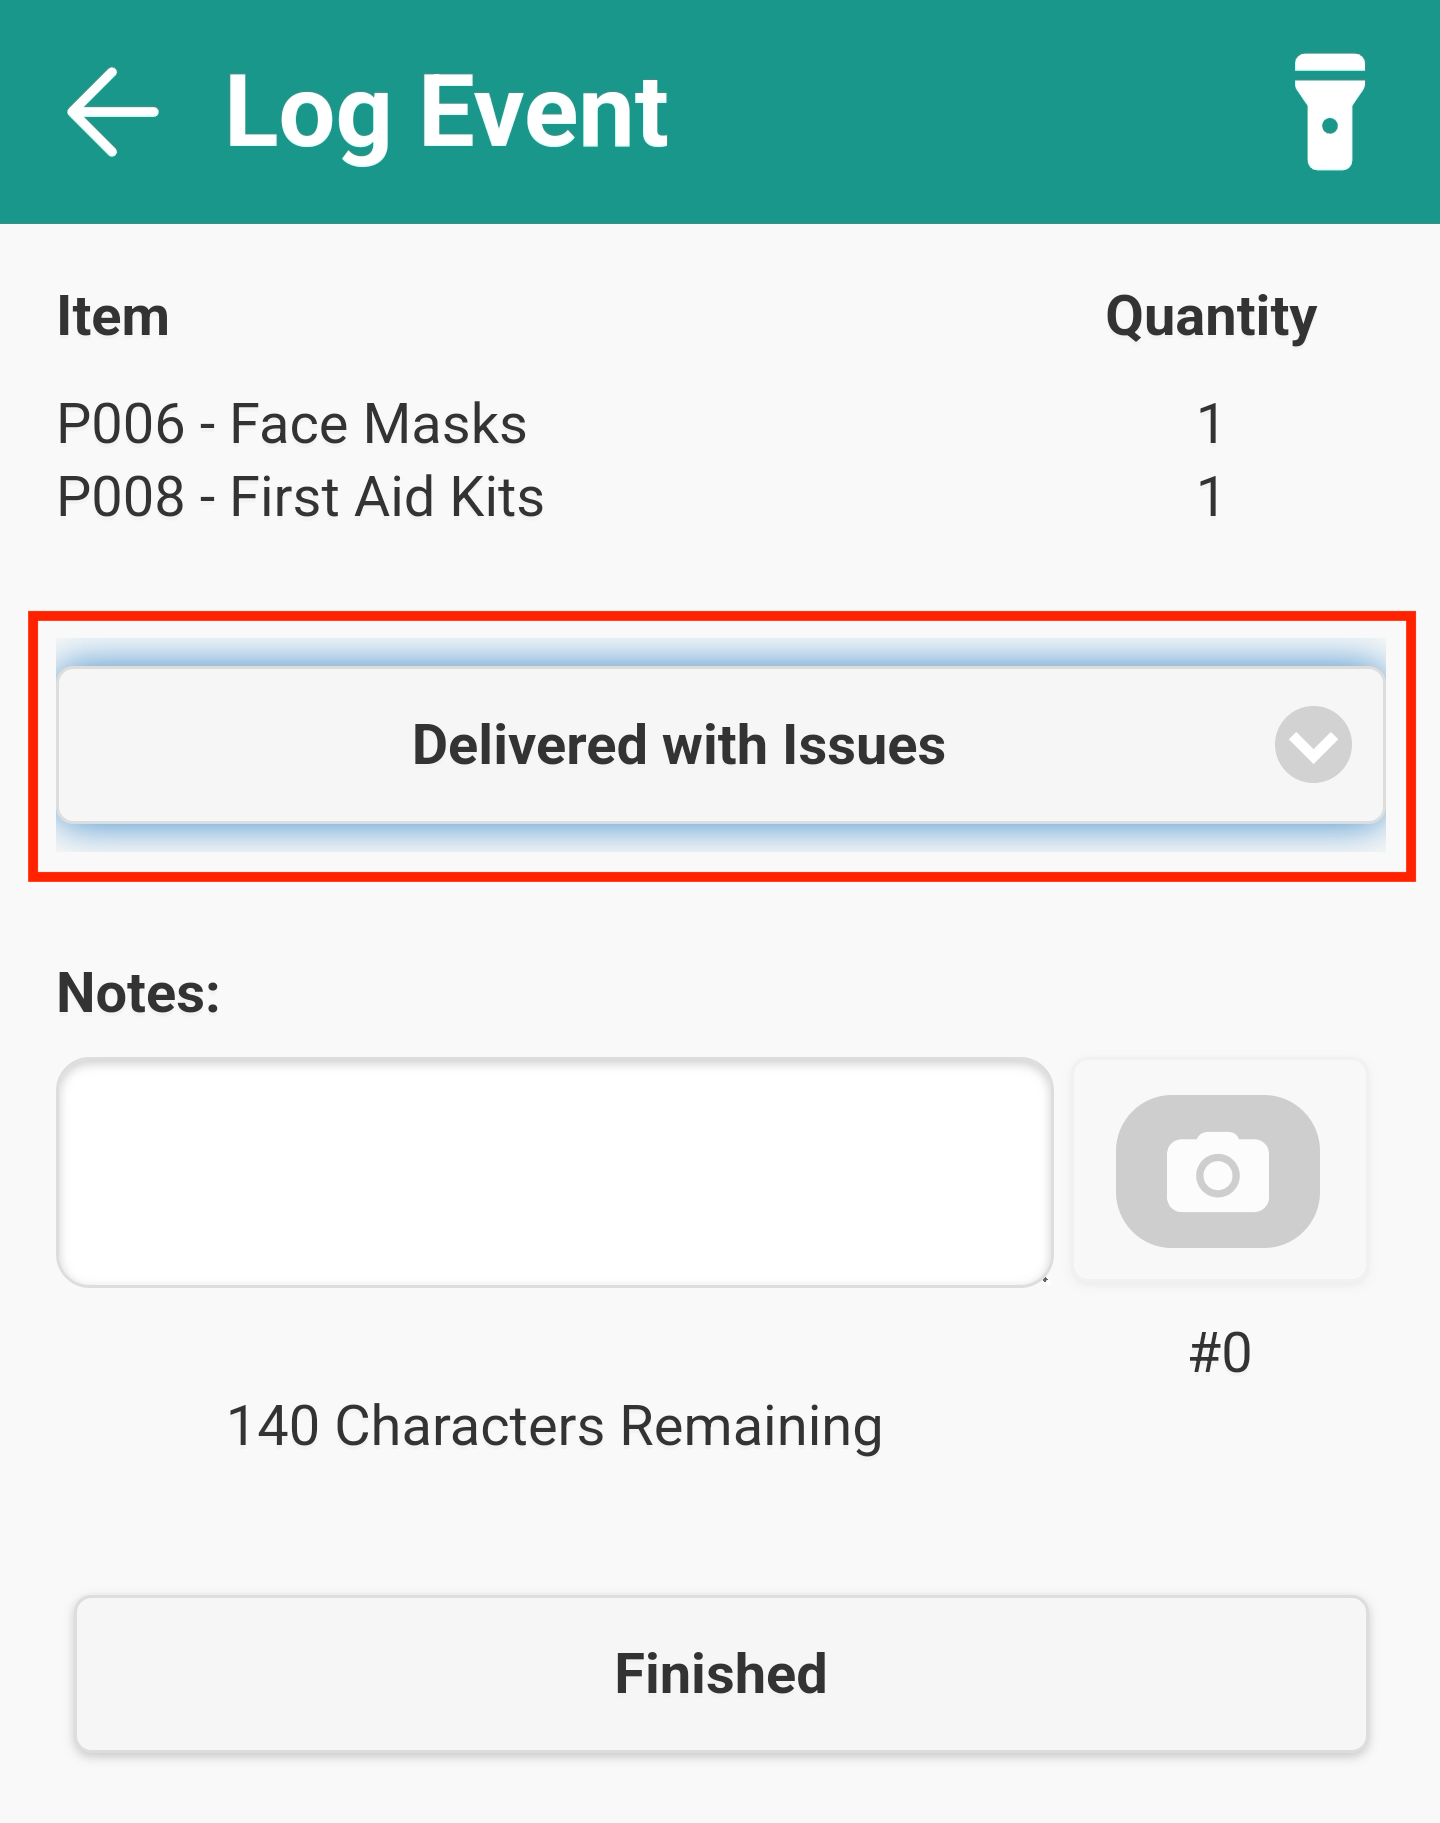
- Capture any required notes and photos for this individual item(s)
- Tap ‘Finished’ (and repeat on any additional part-delivered/failed items if updating individually)
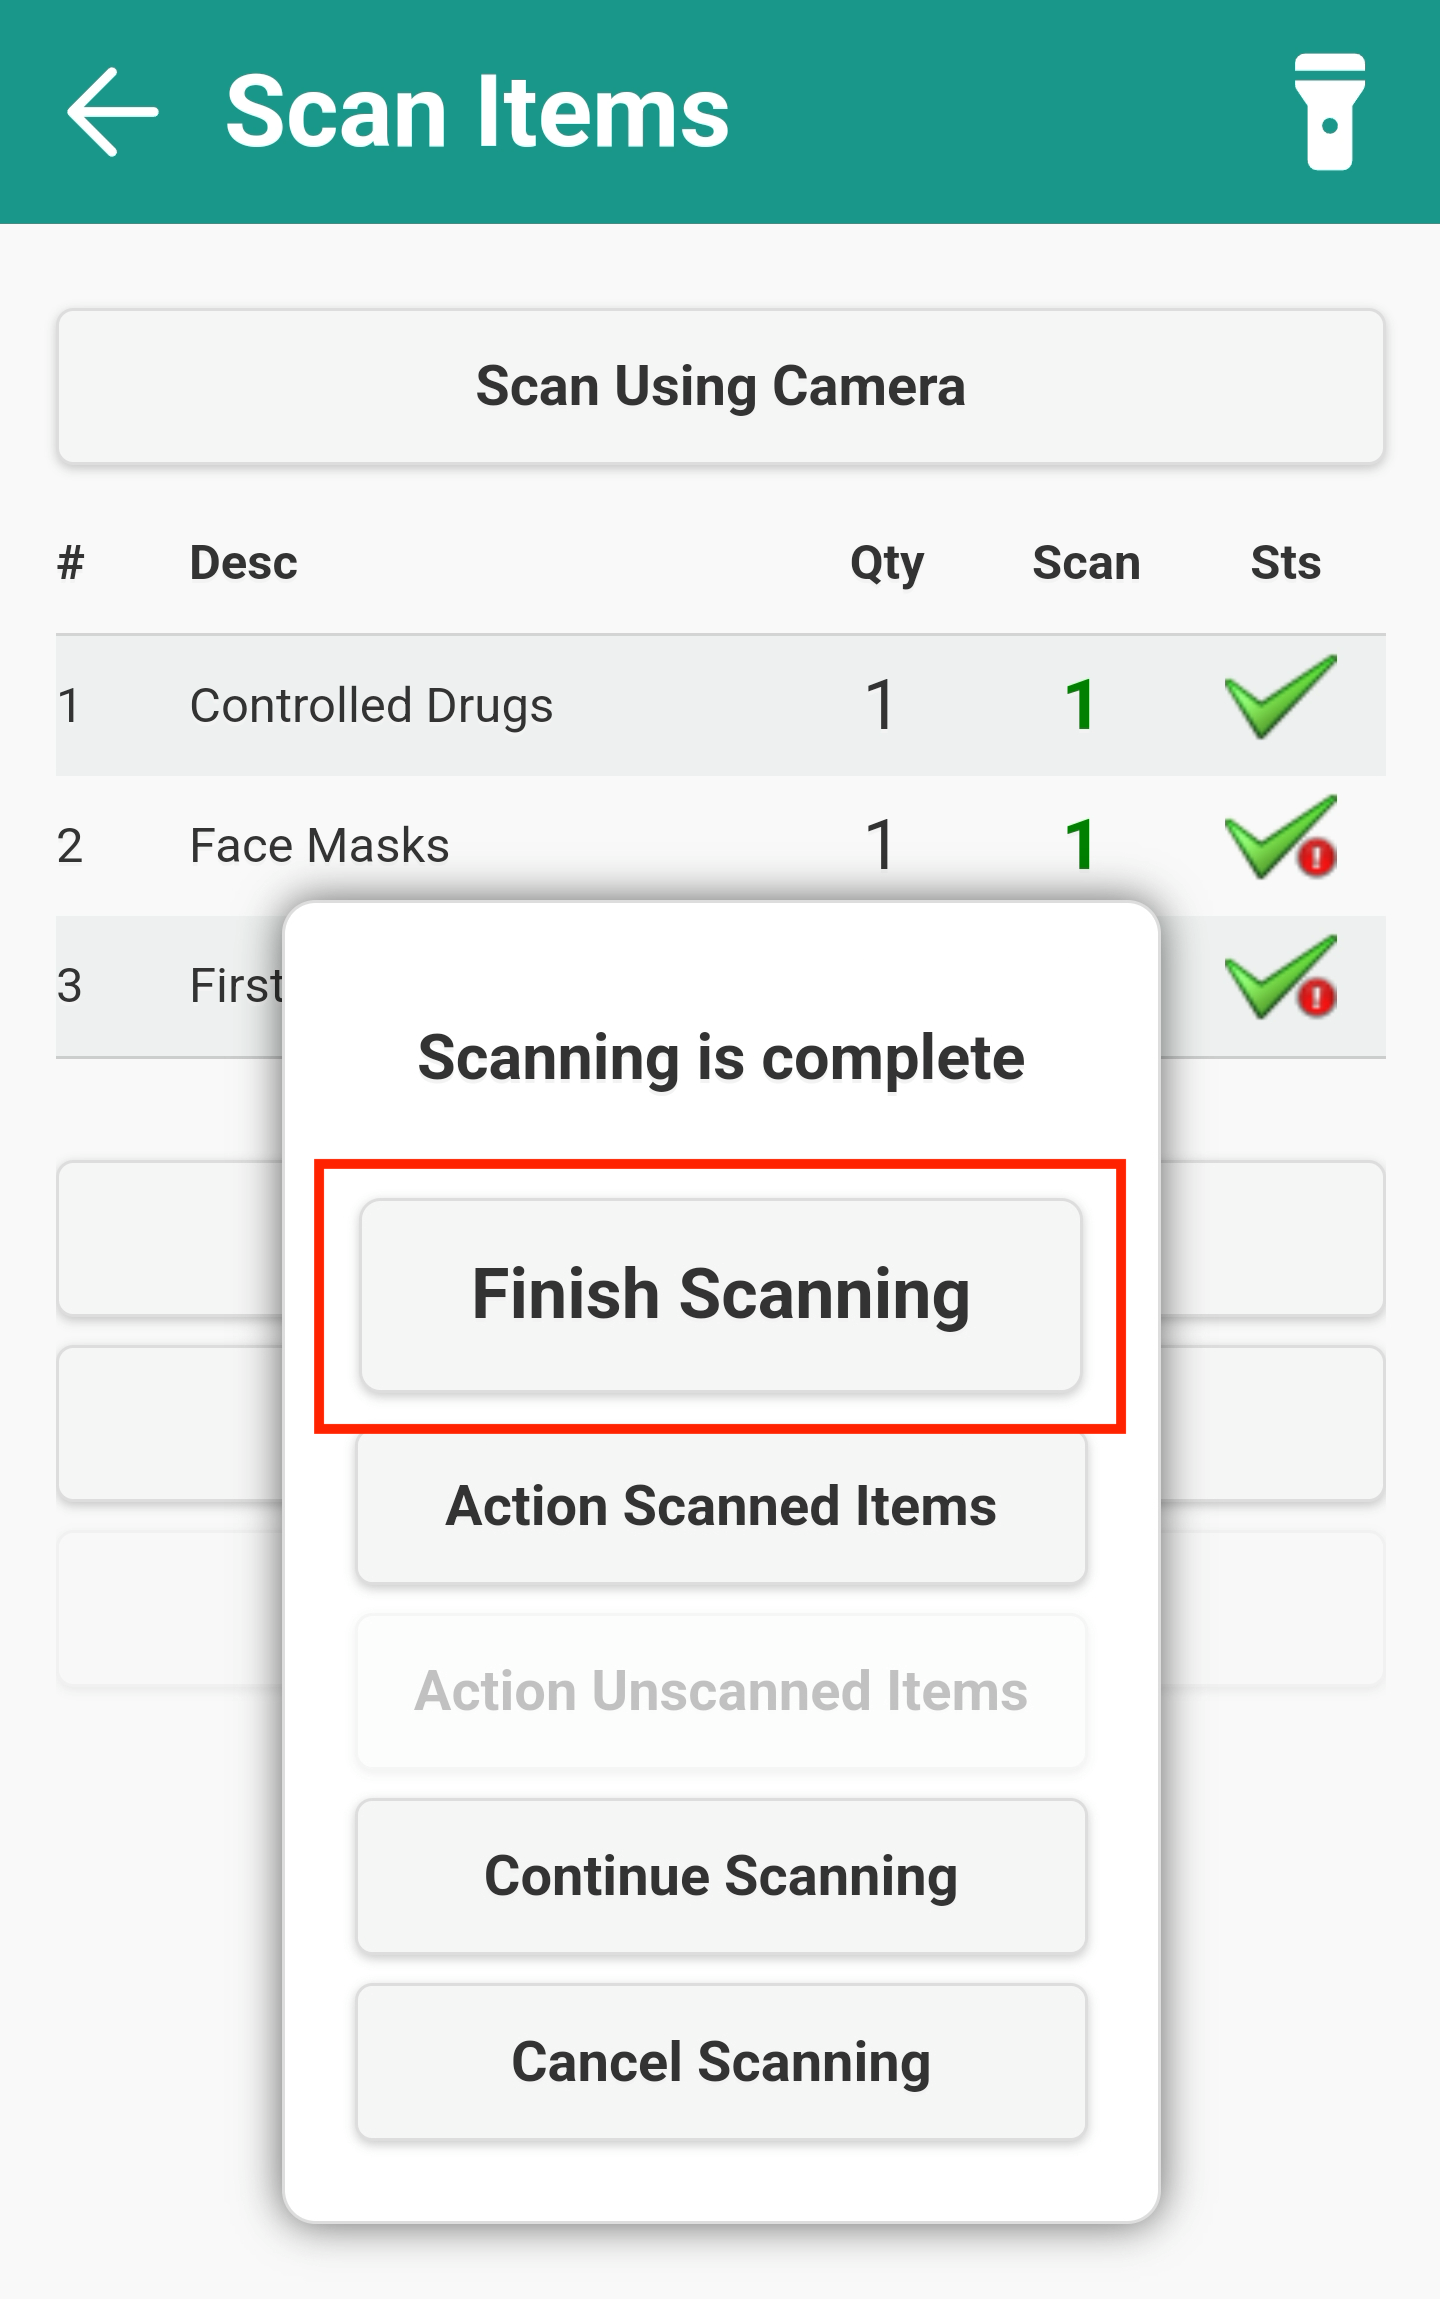
- Once all items have been actioned, click ‘Finished Scanning’ on the popup window
- Capture any required notes and photos for the delivery
- Tap ‘Signature’ to collect the customer signature, enter the recipient’s name and then tap the tick to confirm
- Tap ‘Finished’ to complete the stop