Follow this step-by-step guide for adding a vehicle in your Stream account.
Add the New Vehicle
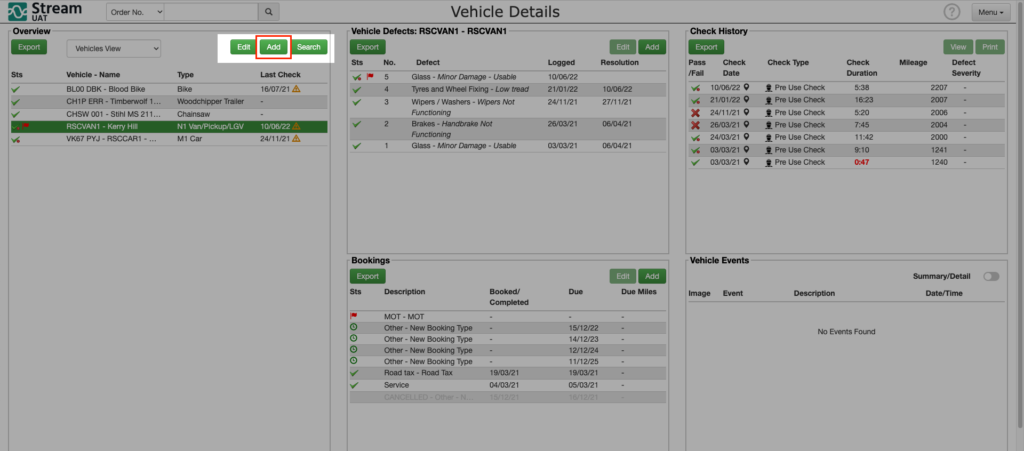
From the main menu in the top right of Stream, click ‘Vehicle Details’
In the ‘Overview’ section, click ‘Add’.
Add the Vehicle Details
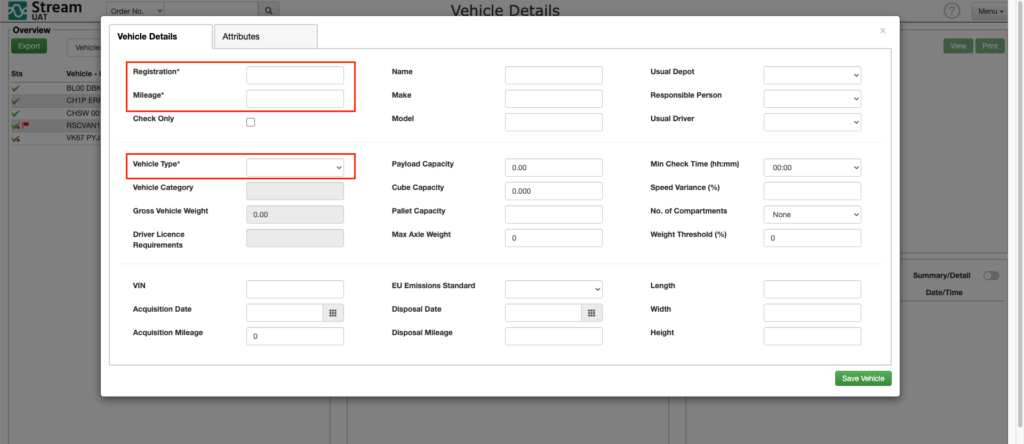
Enter the relevant vehicle details in the popup window and then click the ‘Save Vehicle’ button on the bottom right.
Please Note:
Only ‘Registration’, ‘Mileage’ and ‘Vehicle Type’ are required fields, but it is recommended to add as much detail as possible.
Add the default booking details (if enabled)
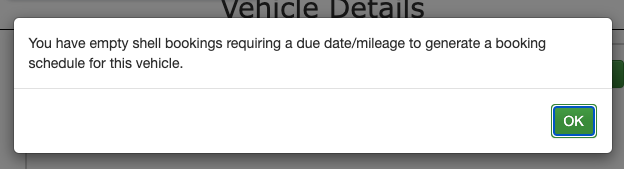
Once the vehicle has been added, Stream will request you to generate a booking schedule if the vehicle type selected has ‘default bookings’ configured.
Any booking that is requiring attention is marked with a red flag in the ‘Bookings’ section.
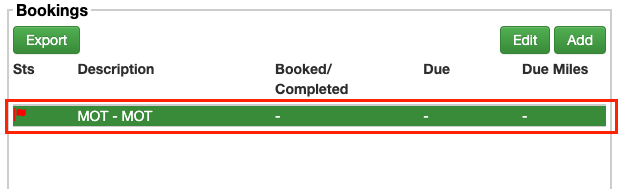
Click on the automatically generated MOT booking to select it and then click ‘Edit’ to add the details of the next MOT for this vehicle.
Once you’ve filled out the details of the booking, click ‘Save’ in the bottom right corner.
Booking schedules can be used to add details of vehicle inspections, services and MOTs. If you need any help with this, why not check out our help guides for vehicle bookings.