This guide will show you how you can add a Business Partner to your Stream account, and how to add a user to that Business Partner.
Add a Business Partner Account
Step 1: Go to ‘Business Partners’
From the main menu in the top right hand corner of Stream, click ‘Business Partners’.
If you can’t see ‘Business Partners’ in the menu, you might need to request your company’s System Administrator to update your permissions, or to add the business partner for you.
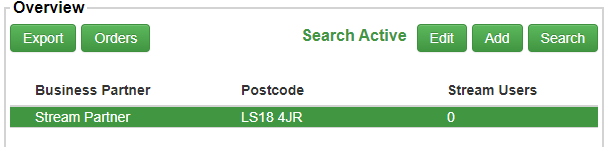
Step 2: Click ‘Add’ in the ‘Overview’ module
In the overview module in the top left, click the ‘Add’ button.

Step 3: Enter the Business Partner’s details
In the popup window that appears, enter the details for the partner, including:
- Name
- Address Line 1
- Postal Code
- Region
Everything else is optional, although we recommend adding as much information as possible.
Please note: the ‘Location Name’ will automatically be populated as you enter the partner’s name, however you can remove or edit this if you don’t want them to match.
Step 4: Save the partner
When you’ve finished adding the partner’s information, click ‘Save’ in the bottom-right of the popup.
The Business Partner will now appear in the ‘Overview’ module.
If you need to edit the details of a Business Partner at any point, you can come back to this screen, select them from the list and click ‘Edit’.
Add a User to a Business Partner
Follow this guide to learn how to add a user to a business partner account in Stream.
Step 1: Go to ‘Business Partners’
From the main menu in the top right hand corner of Stream, click ‘Business Partners’.
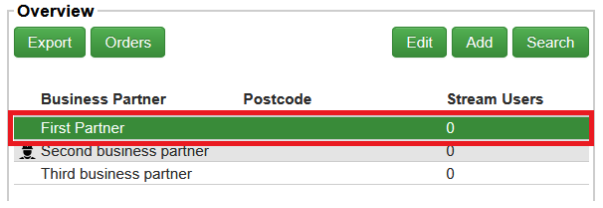
Step 2: Select the Business Partner
In the ‘Overview’ module, select the Business Partner that you would like to add a new user to.
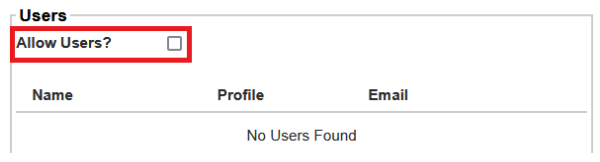
Step 3: Tick the ‘Allow Users?’
Tick the ‘Allow Users’ checkbox in the Users module to allow users to be added to this business partner account.
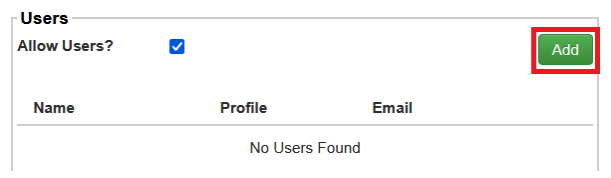
Step 4: Click ‘Add’ in the ‘Users’ module
Once you have ticked the ‘Allow Users’ box in the previous step, an add button will appear in the Users module. Click ‘Add’.
Step 5: Enter the new user’s details
In the popup window that appears, enter the details for the new user, including:
- Party (The business partner’s party)
- Name
- Profile (Username)
- User type
- Join date
Please note: the ‘Profile’ will be automatically populated as you enter the user’s name and is required to start with the 3 letter prefix for your company account, however the last 7 characters can be edited after you’ve entered the user’s name.
Step 6: Save the new user
When you’ve finished adding the user’s information, click ‘Save’.